Discipline
Product Design, 3D Modeling, Fabrication, Jewelry Design
Timeline
November - December 2024 (6 Weeks)
Tools
Laser Cutting, 3D Printing, UV Resin, Acrylic, Birchwood, Wood Stain, Silver
Organica, a Fabricated Jewelry Collection
Overview
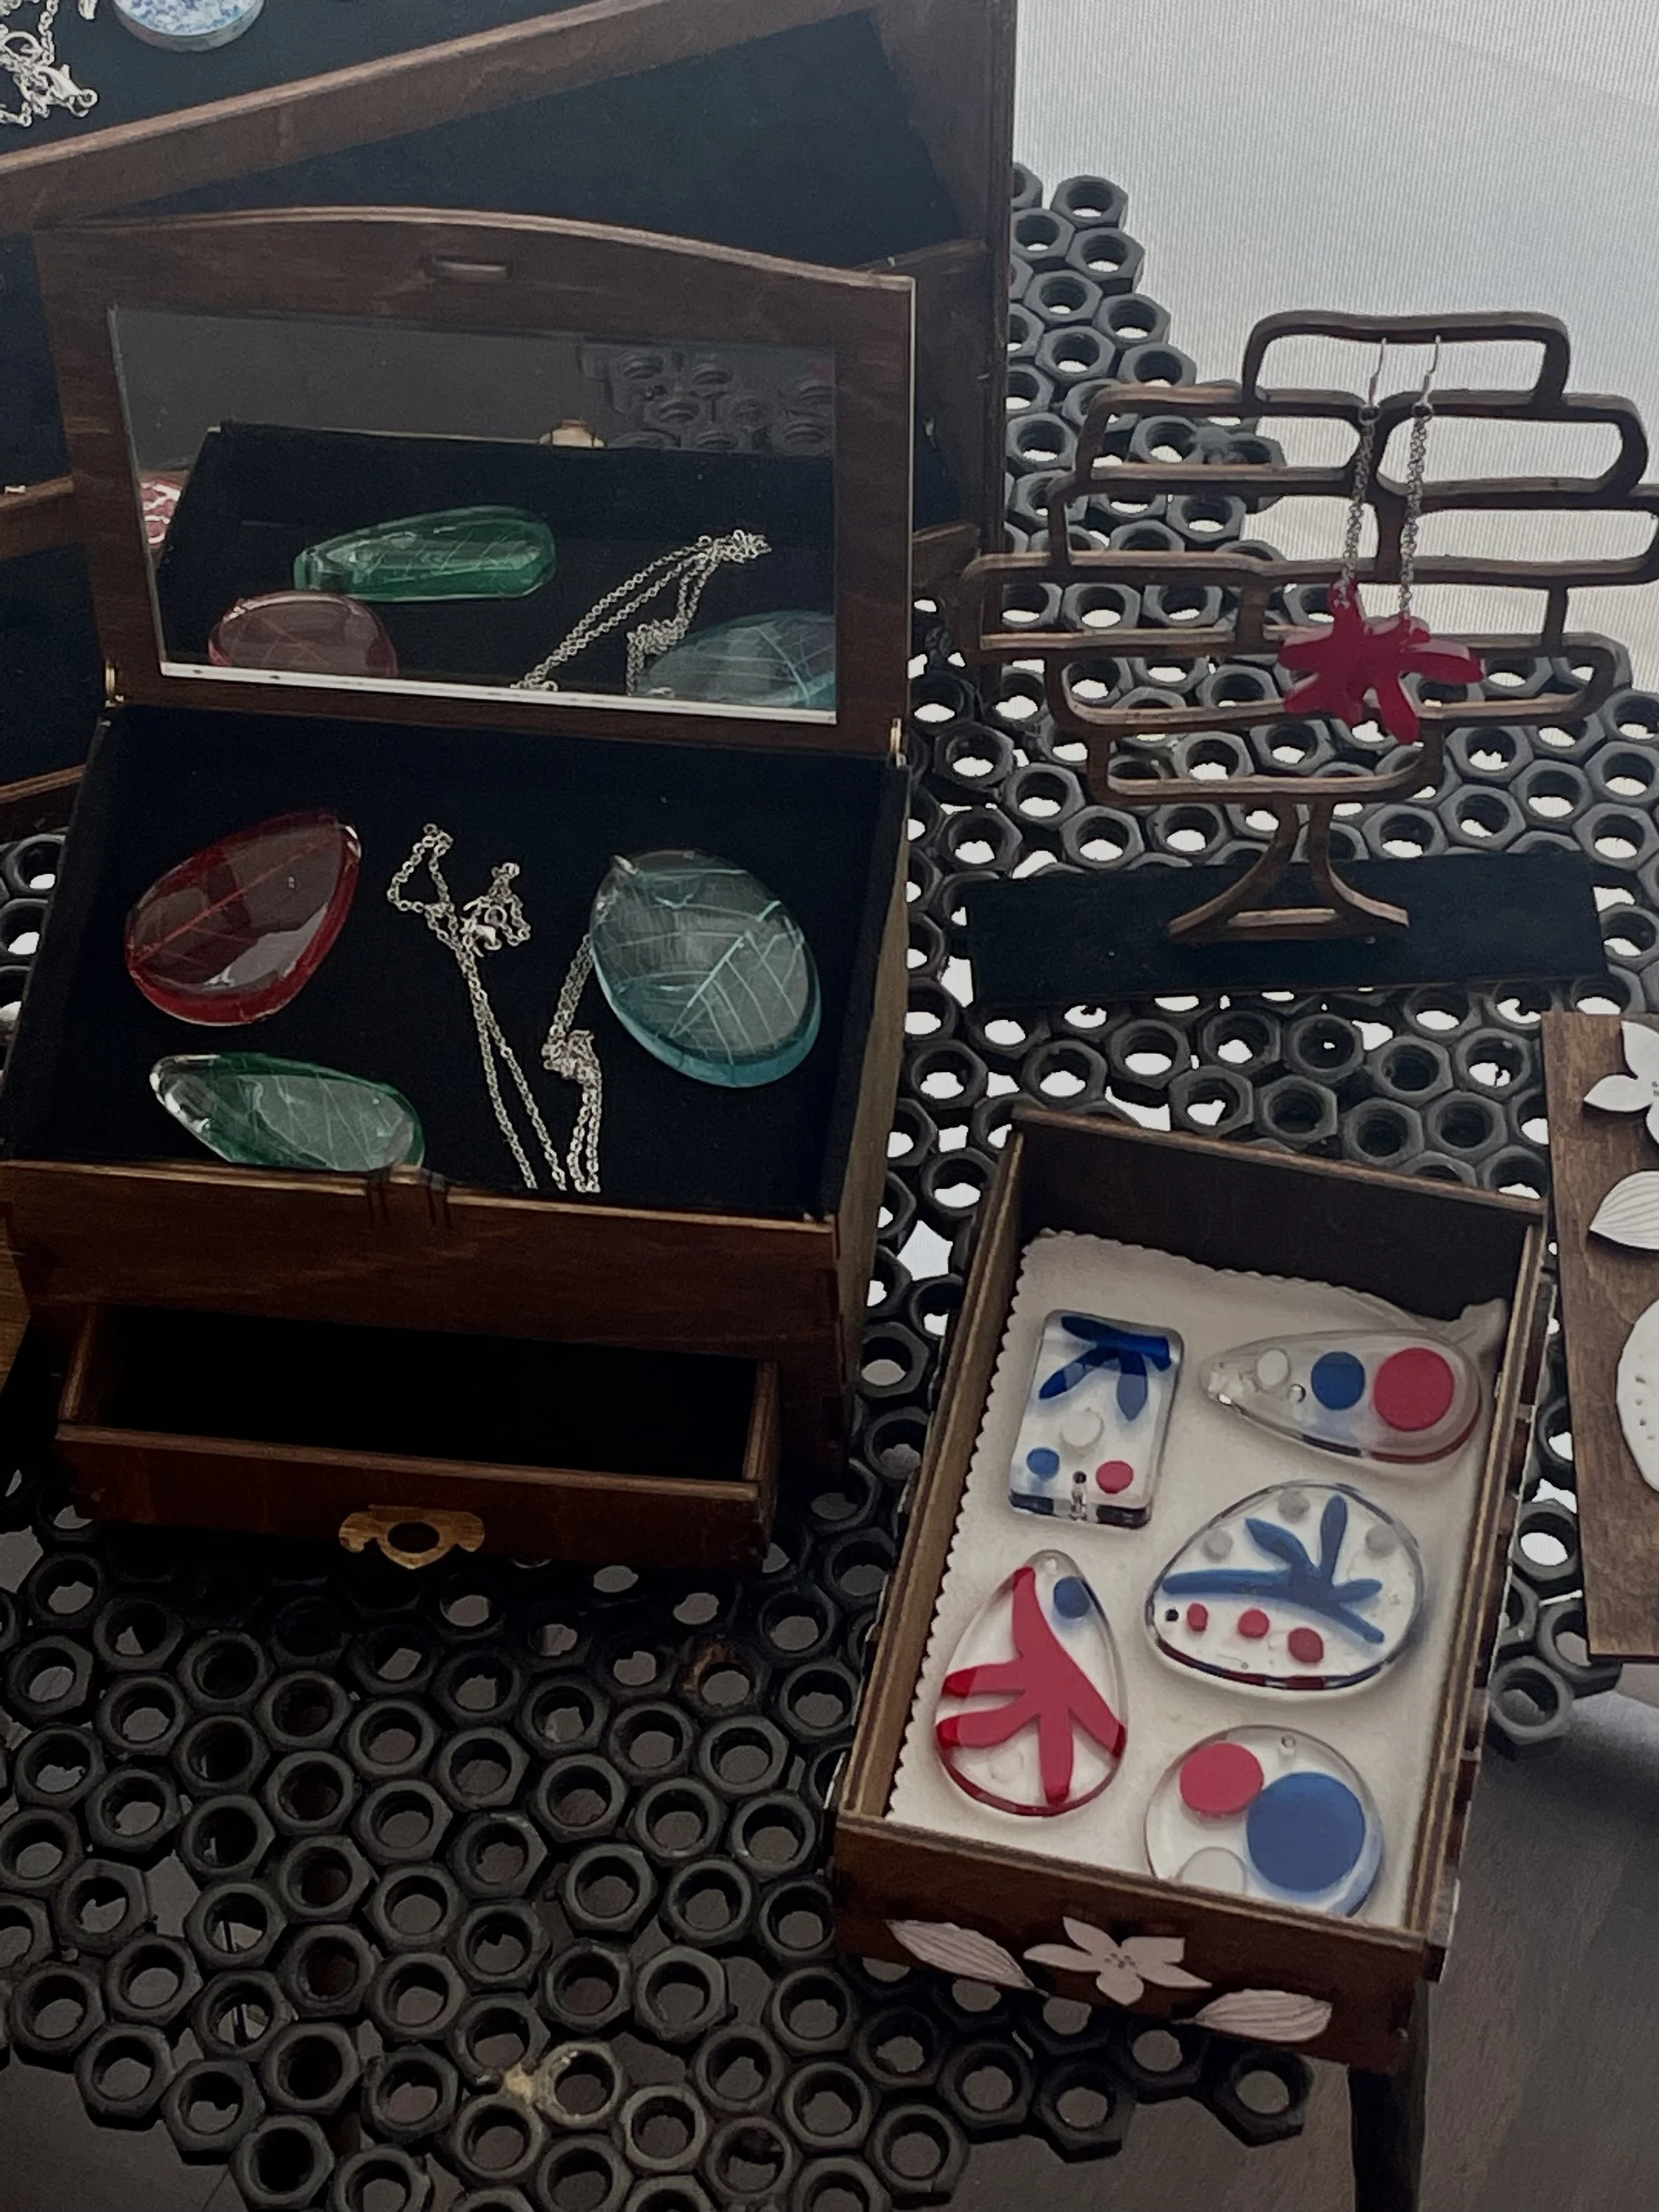
Organica is a mini, fabricated jewelry collection that explores organic forms and patterns in the natural environment with creative tech, featuring pendants and earrings. Natural structures like fruit layers, raindrops, leaf skeletons, flower petals, plant cells, and beehives inspire this collection.
Using techniques like laser cutting on acrylic and birchwood, and advanced 3D printing, I incorporated materials such as UV resin, synthetic plastics, metals, leaf skeletons, and transparent acrylics into my designs. There was also be an element of sustainability where I reused a lot of materials I already had in my space.
The collection plays with light and transparency, harnessing elements like transparent acrylics and UV resin curing to create pieces highlighting nature's intricacies in a modern, tech-driven aesthetic.
Concept and Inspiration
The idea began during a 3D modeling and printing workshop, where I became interested in using natural structures as visual systems: fractals, honeycombs, wings, and pomegranate seeds. I was curious about how abstract forms found in biology could be reconstructed into something handmade and expressive, such as wearable art (jewelry).
I gathered references from botanical cross-sections, coral, dew drops, plant cells, and wing structures, studying geometry in nature. These patterns helped inform the shapes of both the jewelry and the displays (prototypes featured to the left).
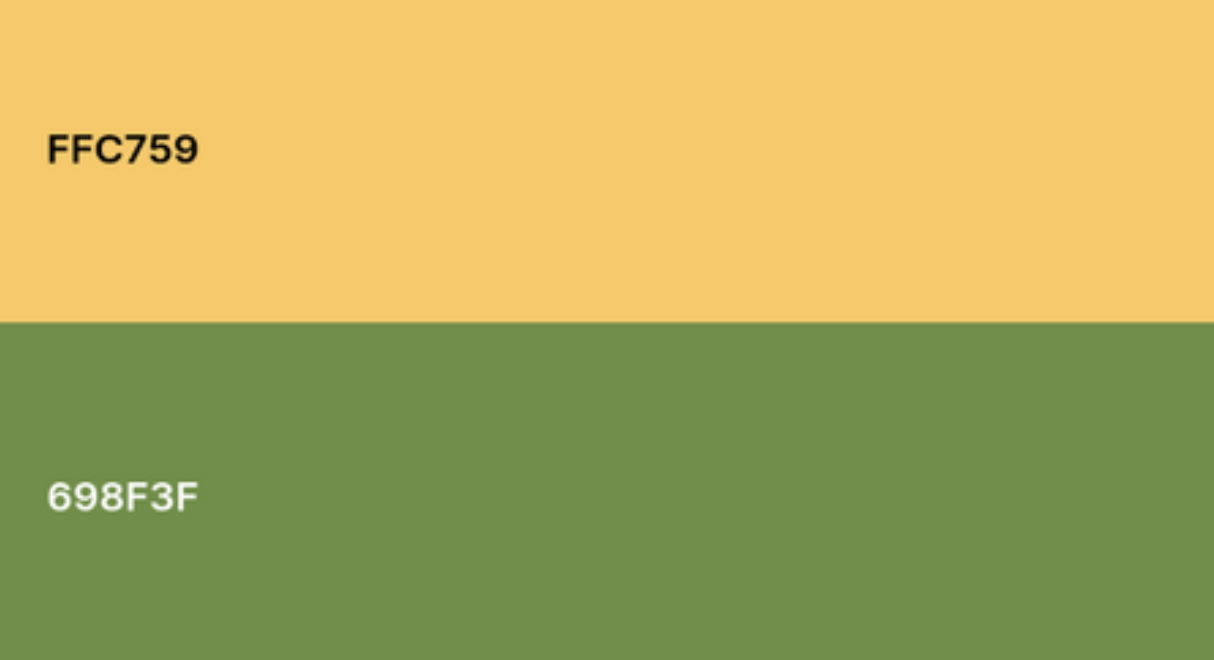
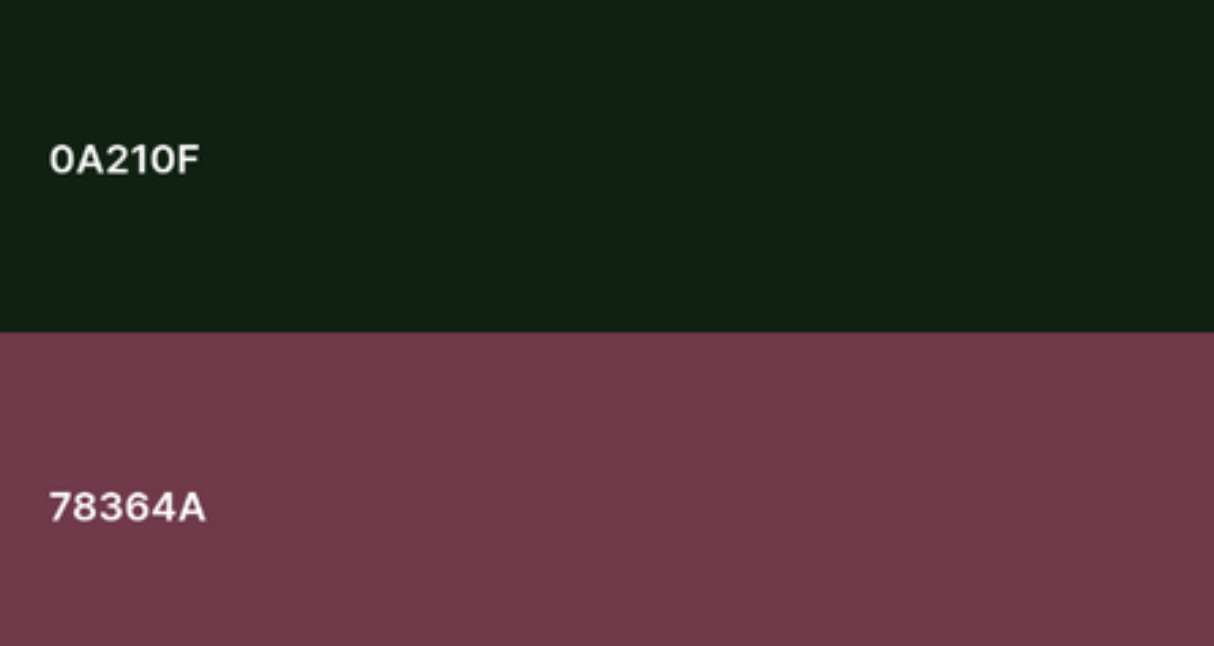
I developed a color palette (below) around this balance, deep blue, burgundy, and platinum acrylics paired with leafy greens and soft yellows to reference nature without being too literal.


Sketches, Materials, and Methods
Materials
UV resin + silicone molds
Mirror + transparent acrylic sheets
Leaf skeletons, herbs
Silver chains and earring hooks
Birchwood (⅛”), walnut stain, velvet lining
Acrylic paint pens, ABS plastic (F170)
Techniques and Tools
Adobe Illustrator (laser cut layouts)
Blender (3D modeling)
Procreate (pendant designs)
Epilog Edge Mini Laser Cutter
F170 Advanced 3D Printer
UV curing lamp
Process and Prototyping
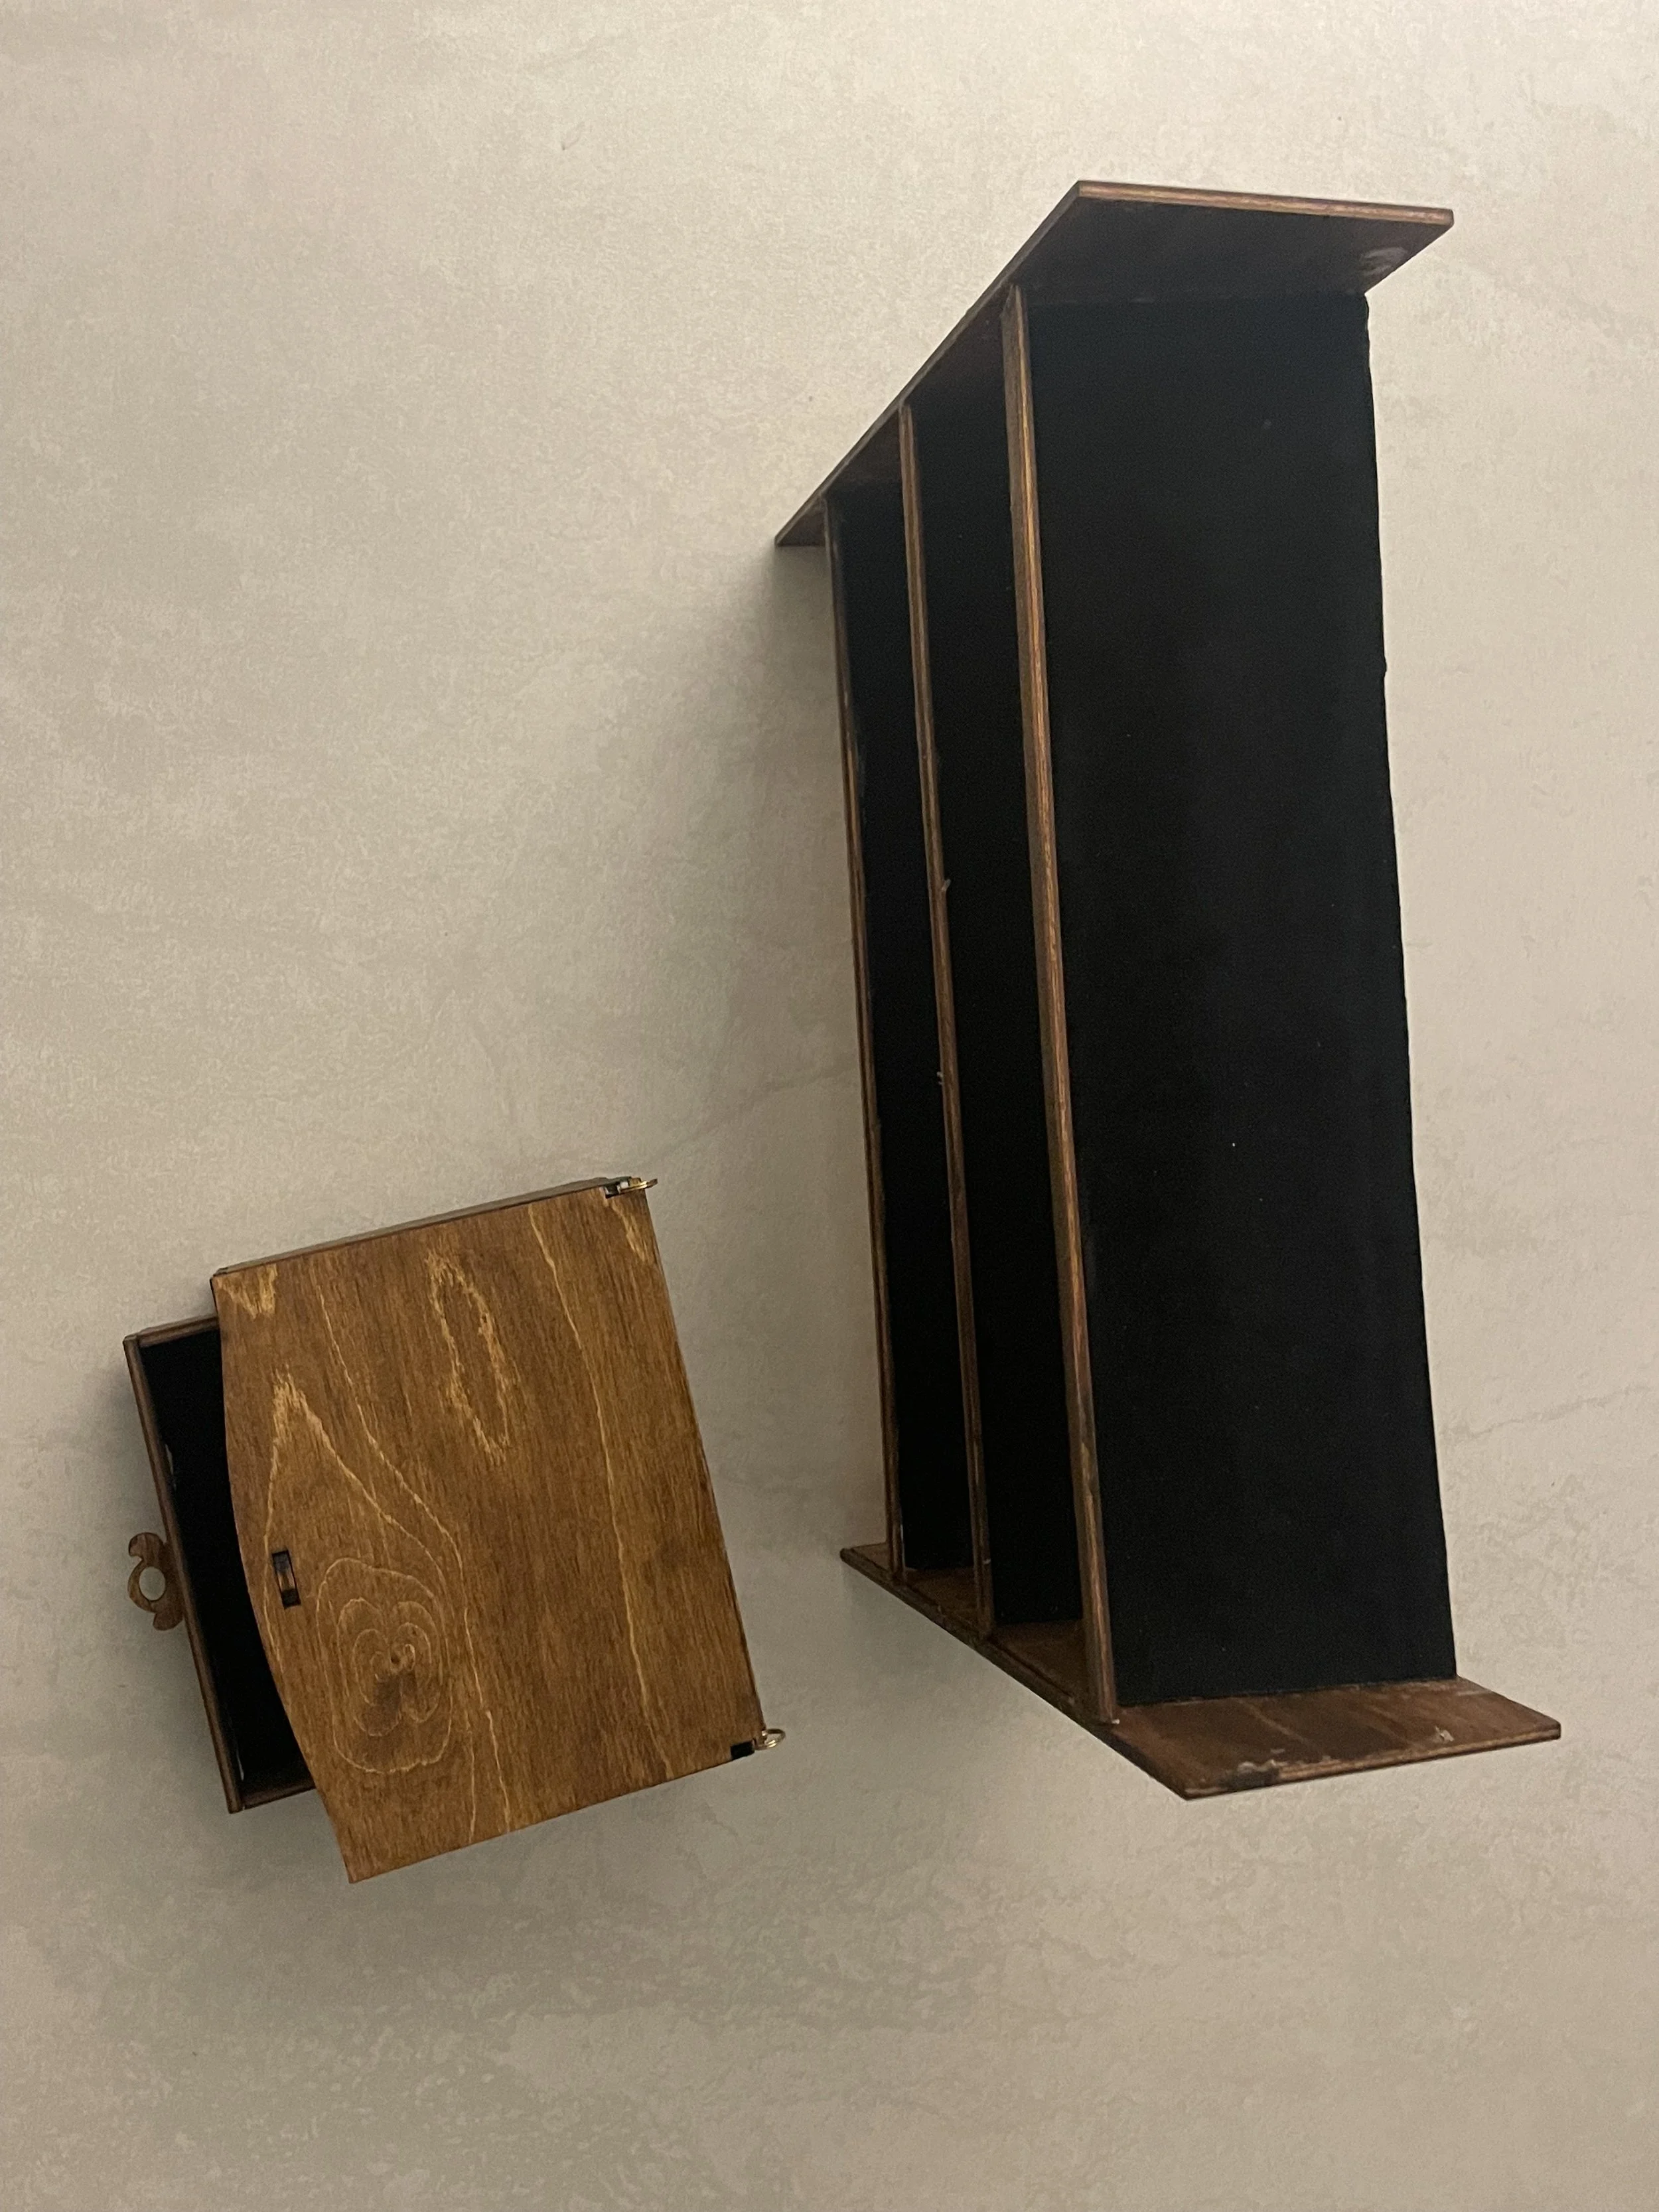
Step 1: Laser Cutting & Display Building
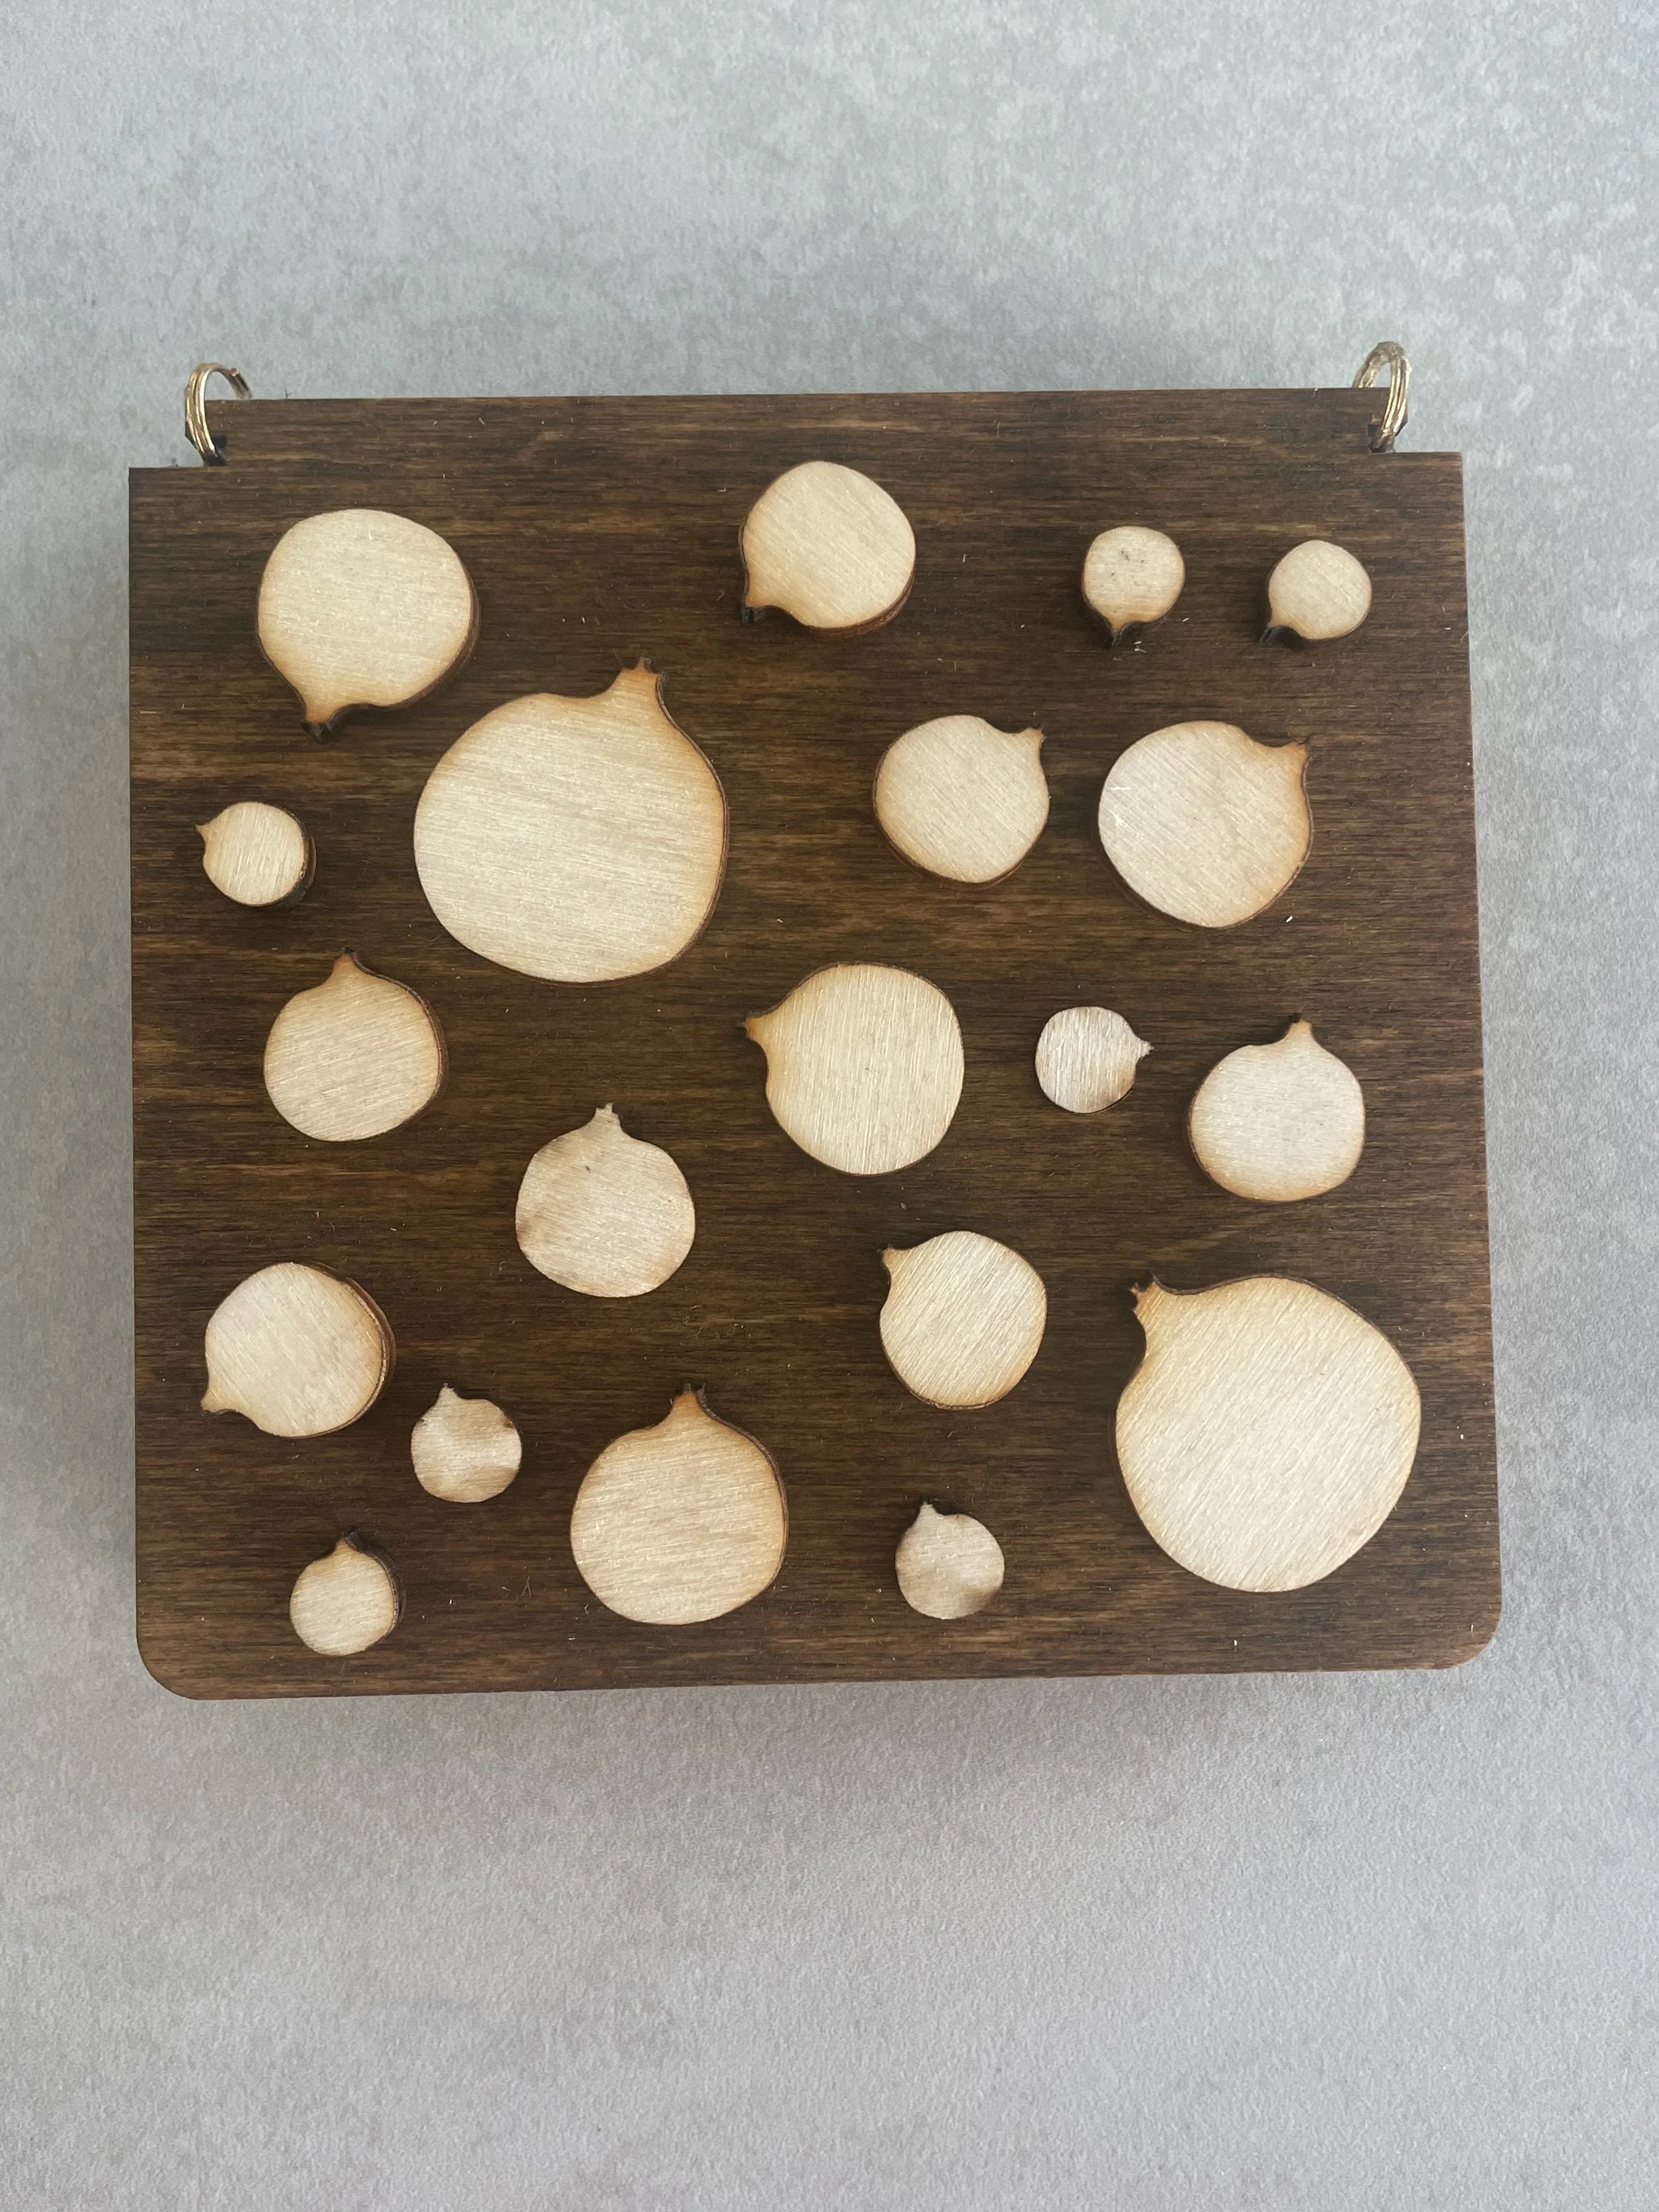
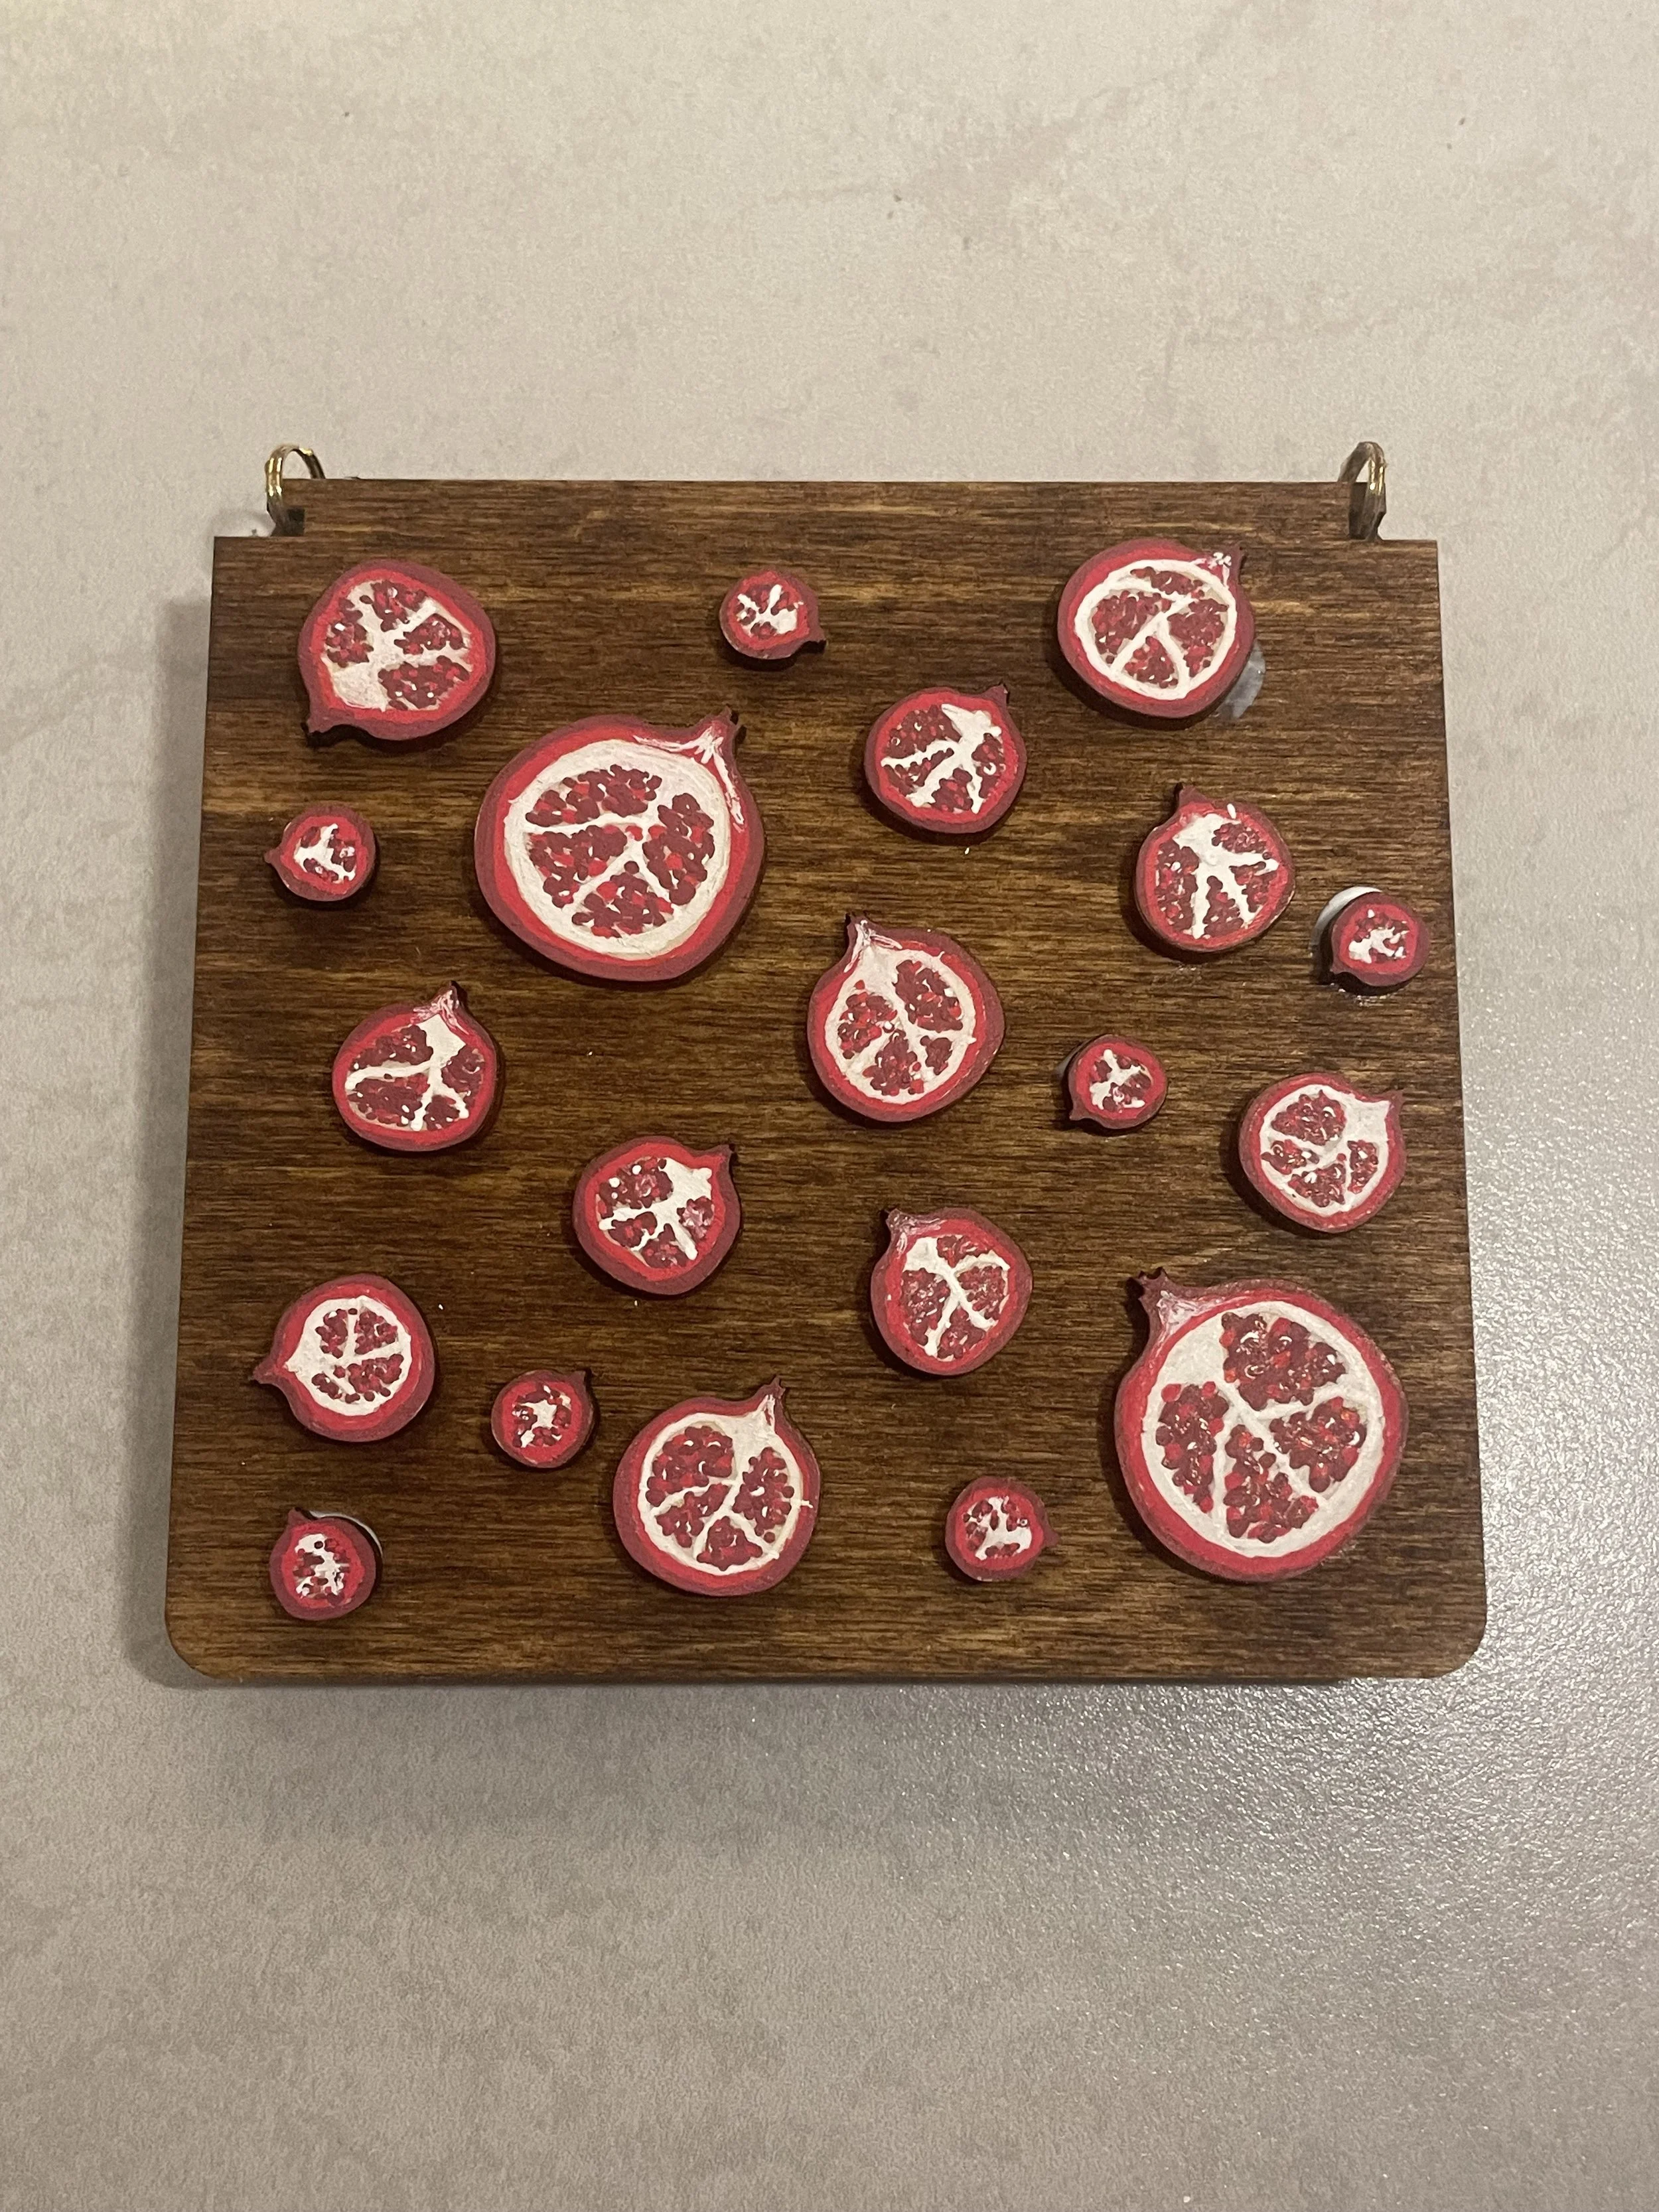
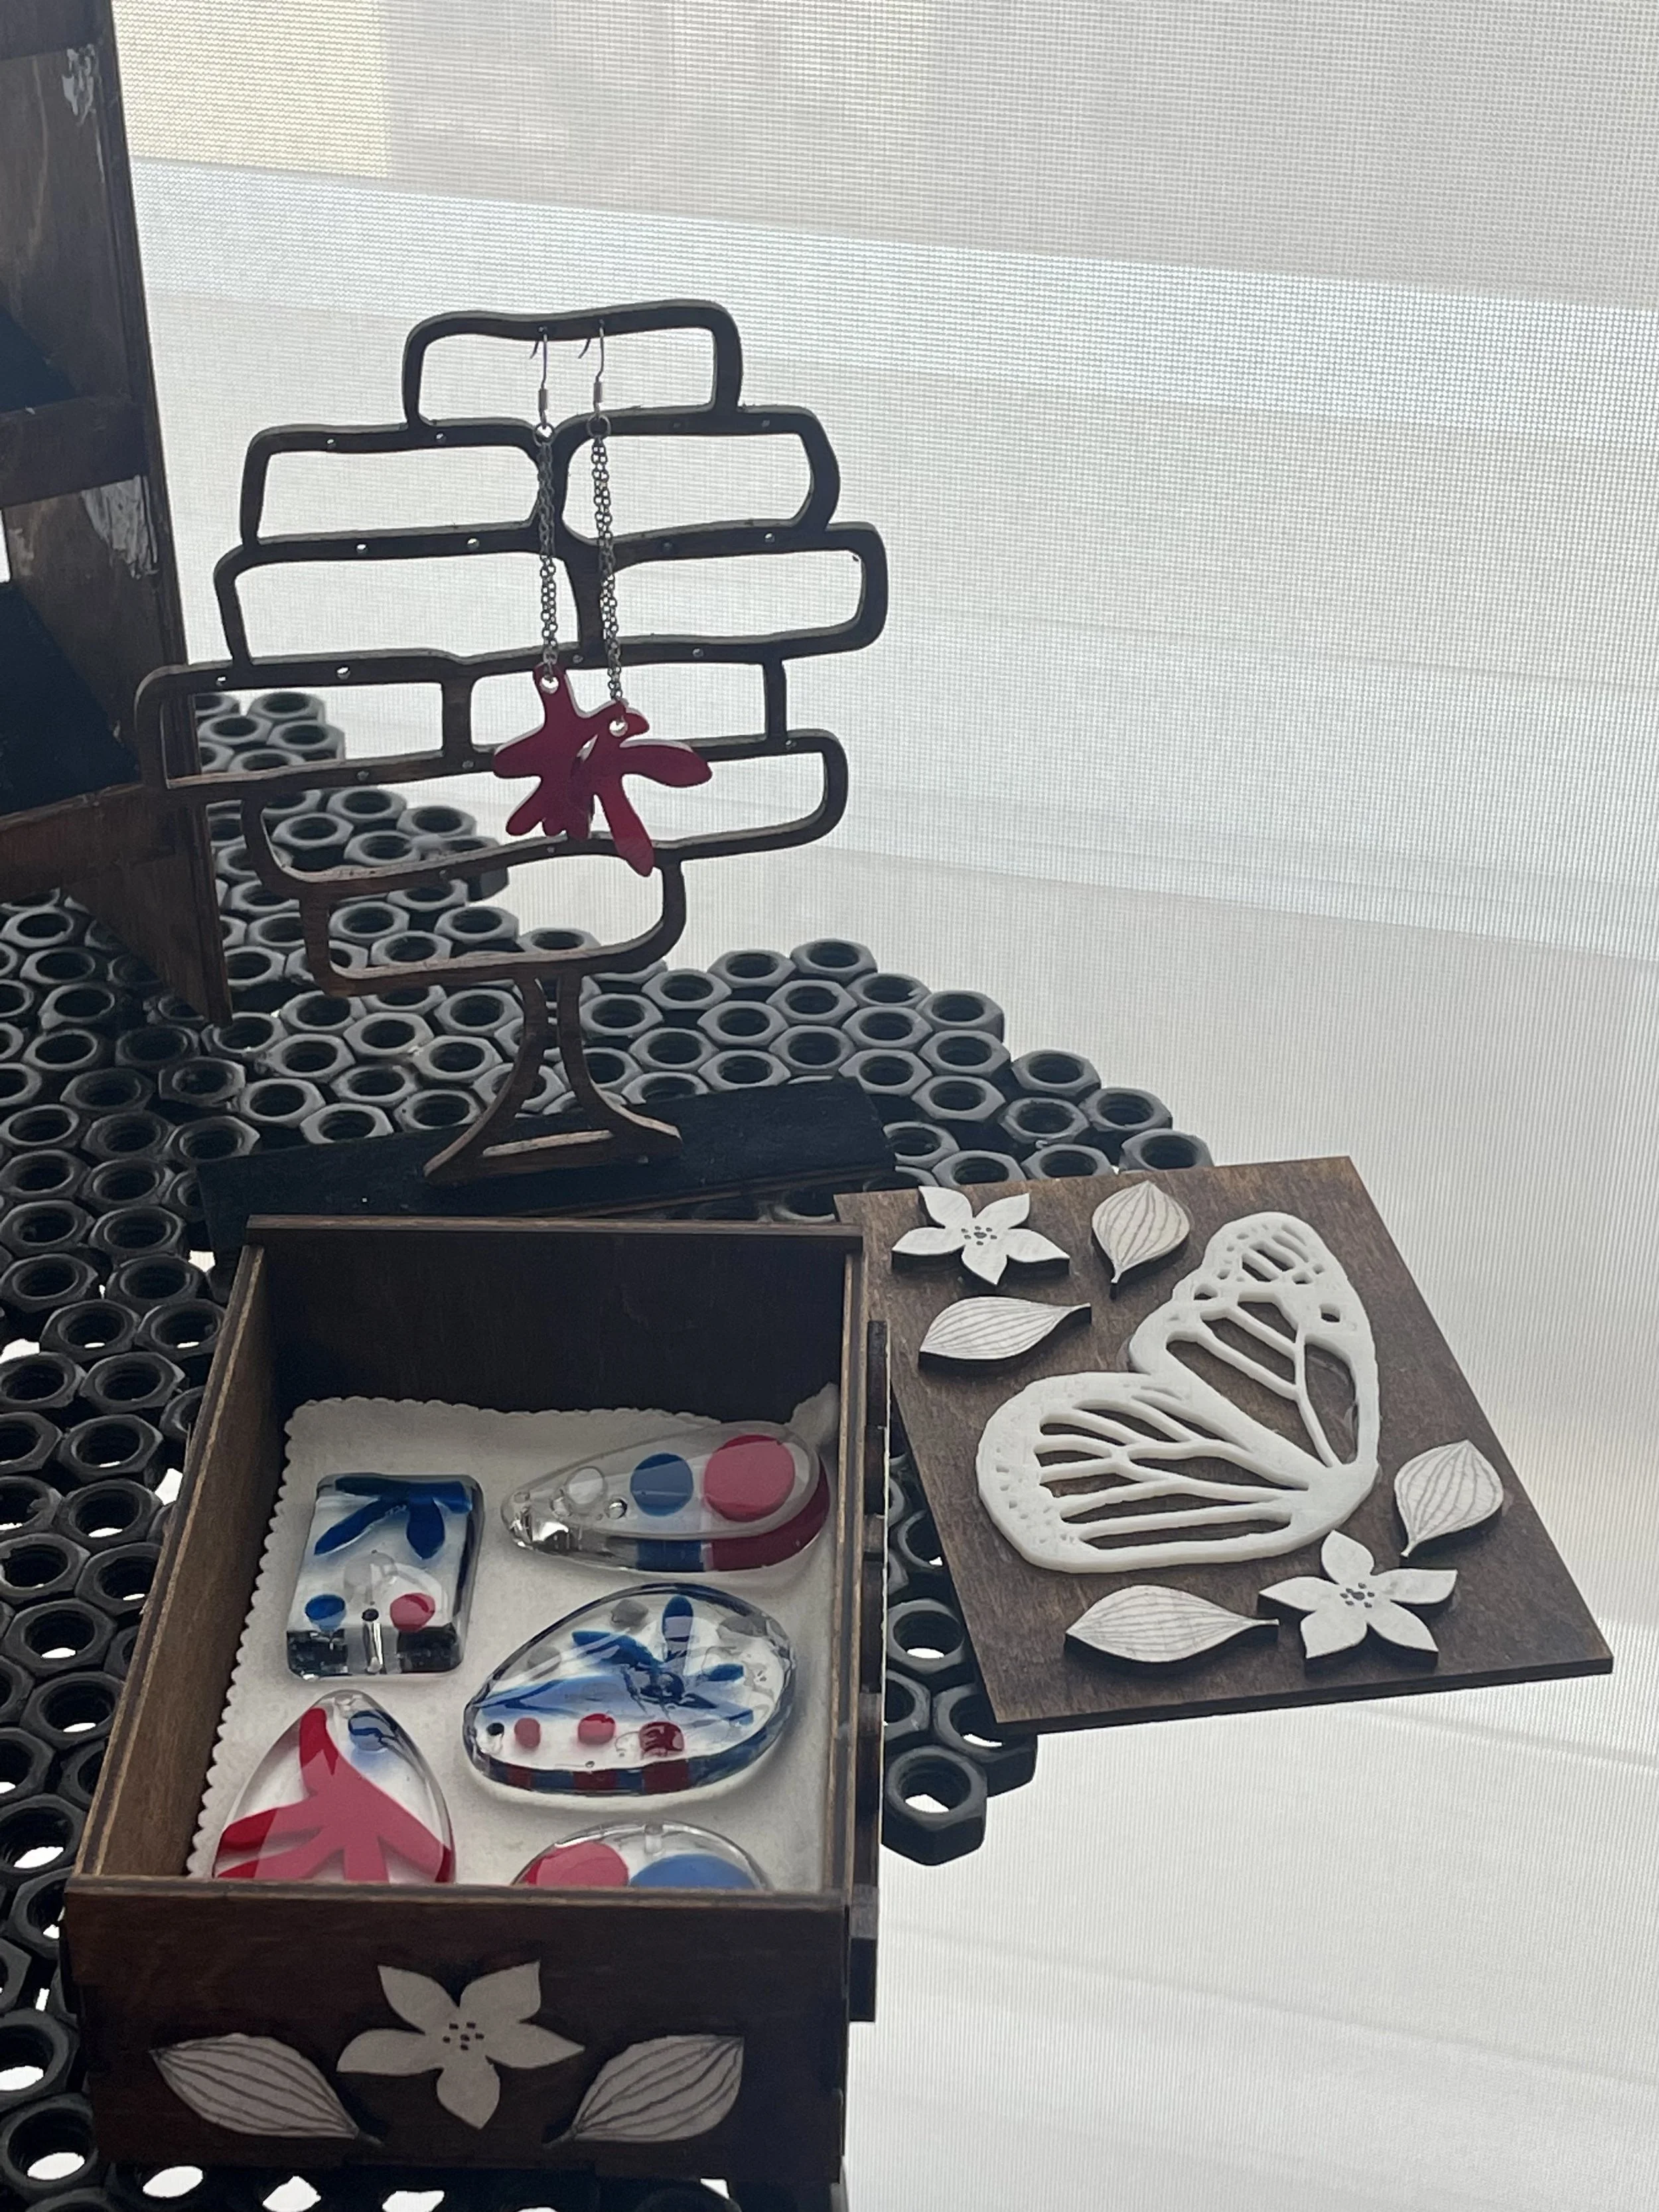
I started by laser cutting birchwood for jewelry boxes and displays. I stained the wood a dark walnut tone and added velvet linings for the interiors. Some display pieces took on geometric forms, like plant cells and pomegranate segments.
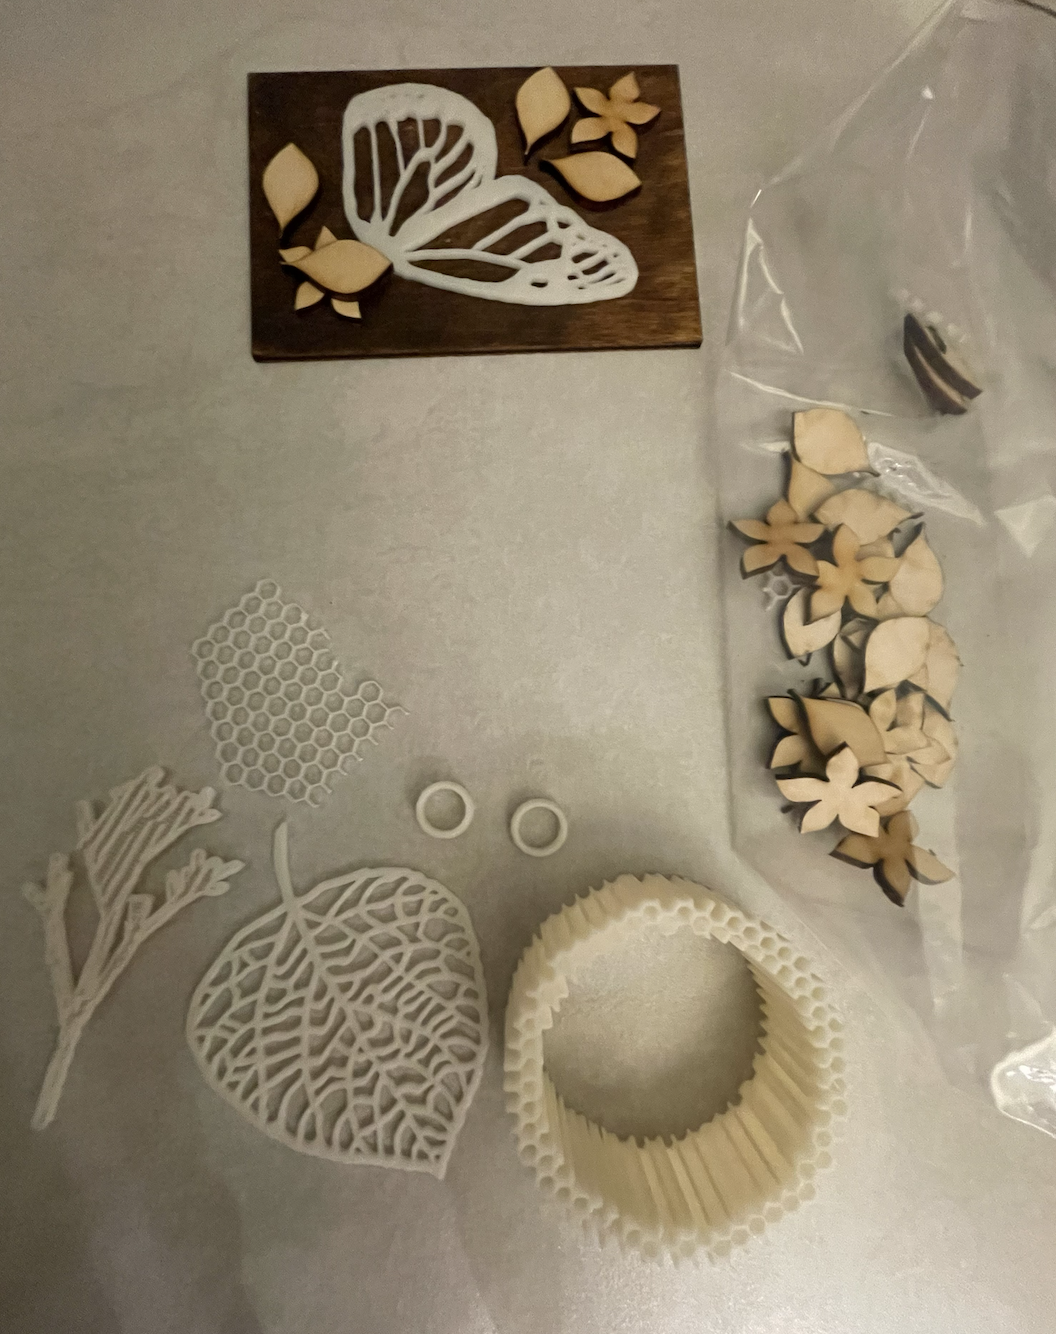
Step 2: UV Resin Curing & Assembly
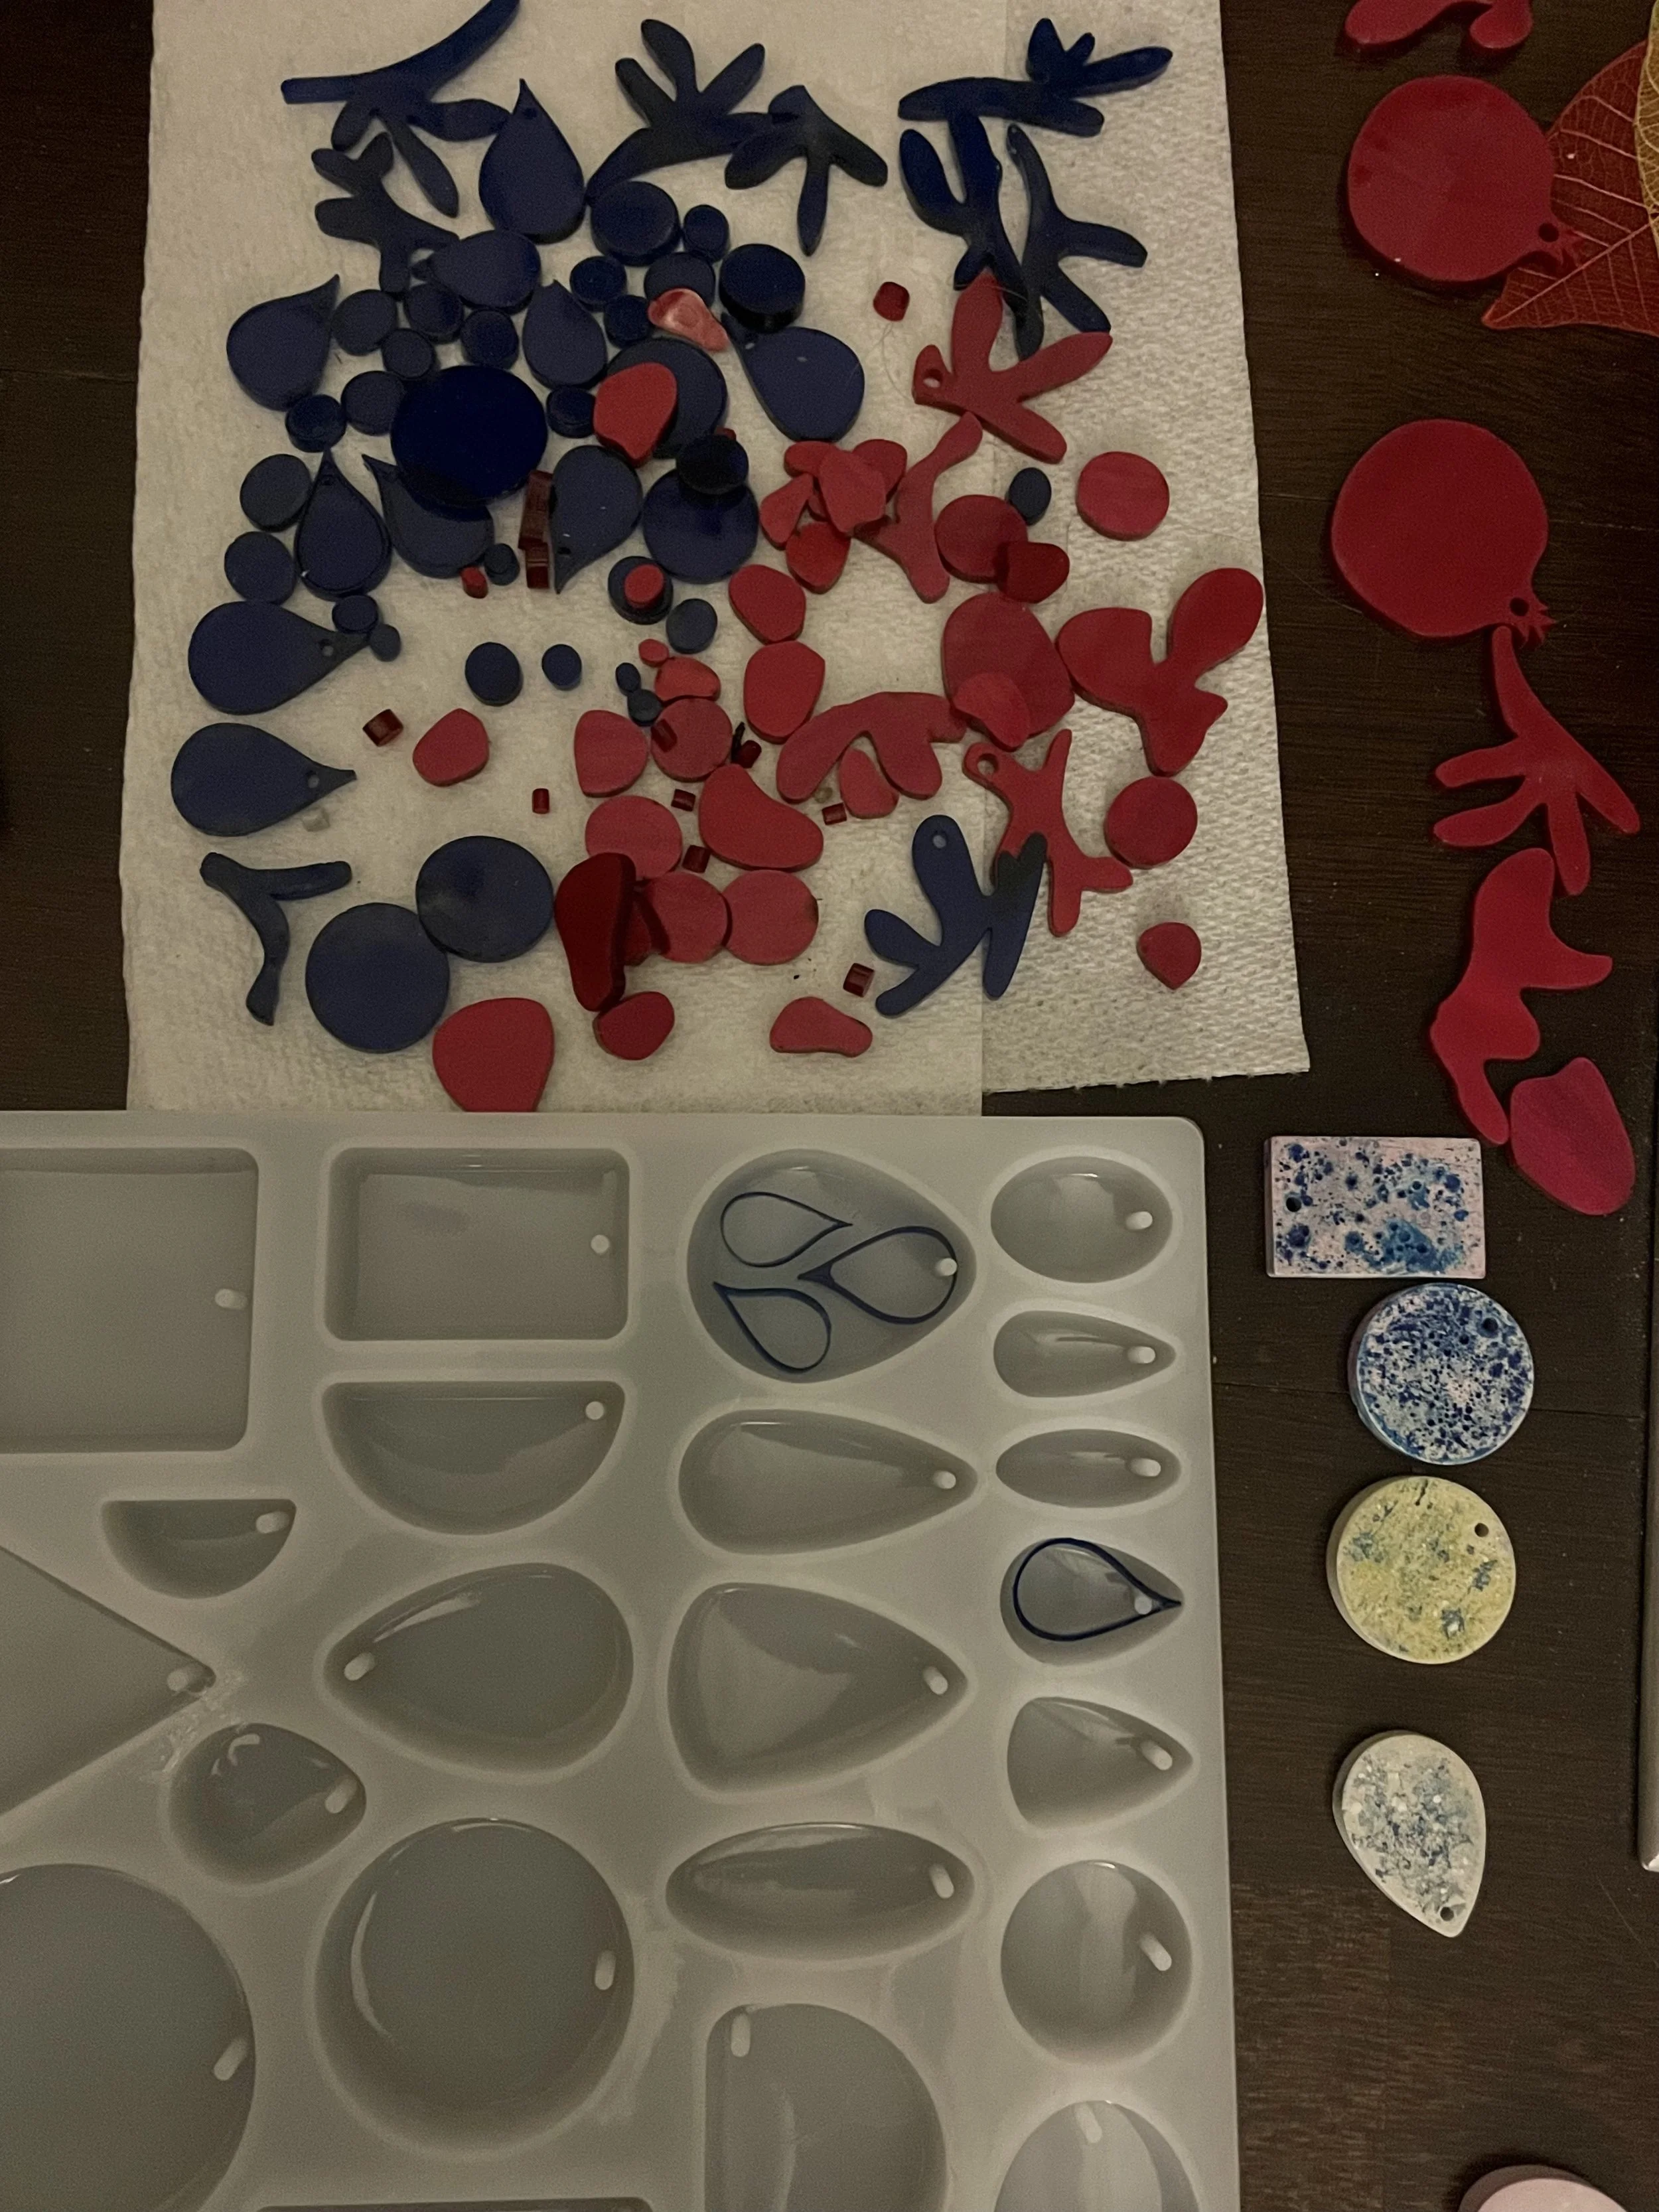
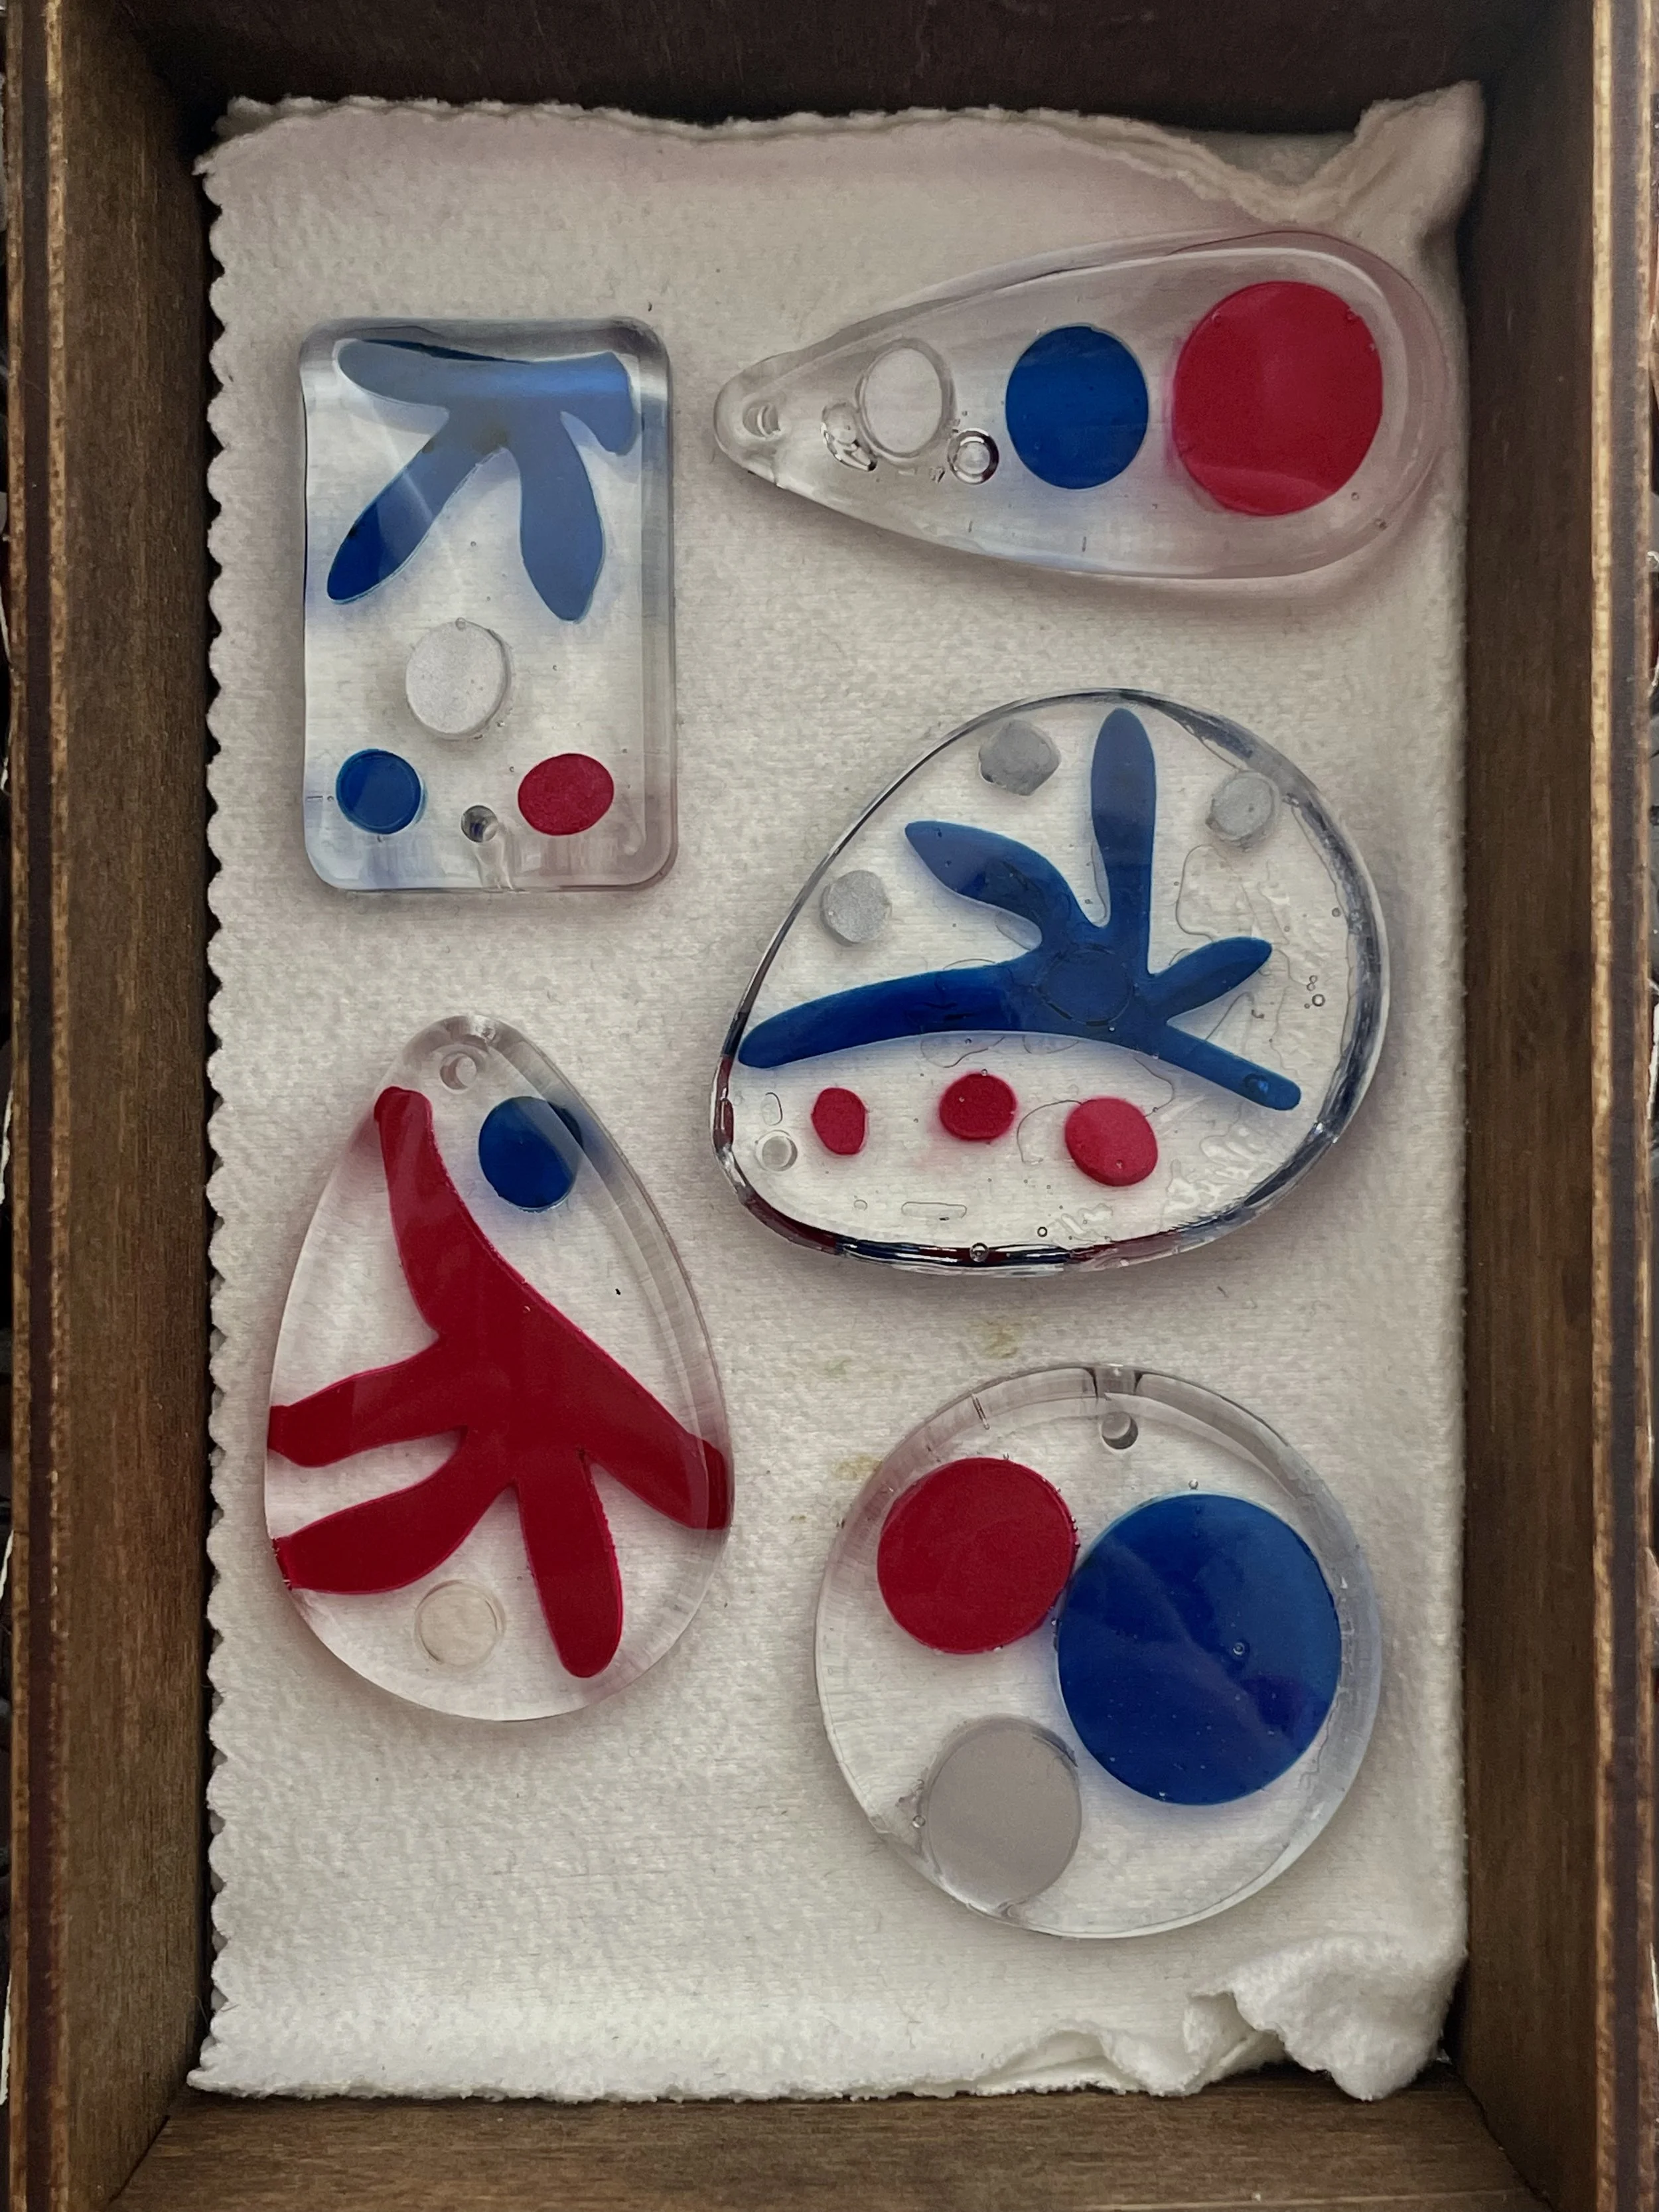
Using transparent acrylic, herbs, and skeleton leaves, I created resin pendants by embedding these elements into silicone molds and curing them under UV light. I laser cut decals and smaller design elements (assets made by me in Procreate) to add dimension.
Step 3: Final Layout Planning
All pieces were arranged across custom wood displays and boxes. An earring tree featured multiple pairs, and mirror tiles were placed under the display to reflect light and echo the organic geometries.
Documentation of the Process:
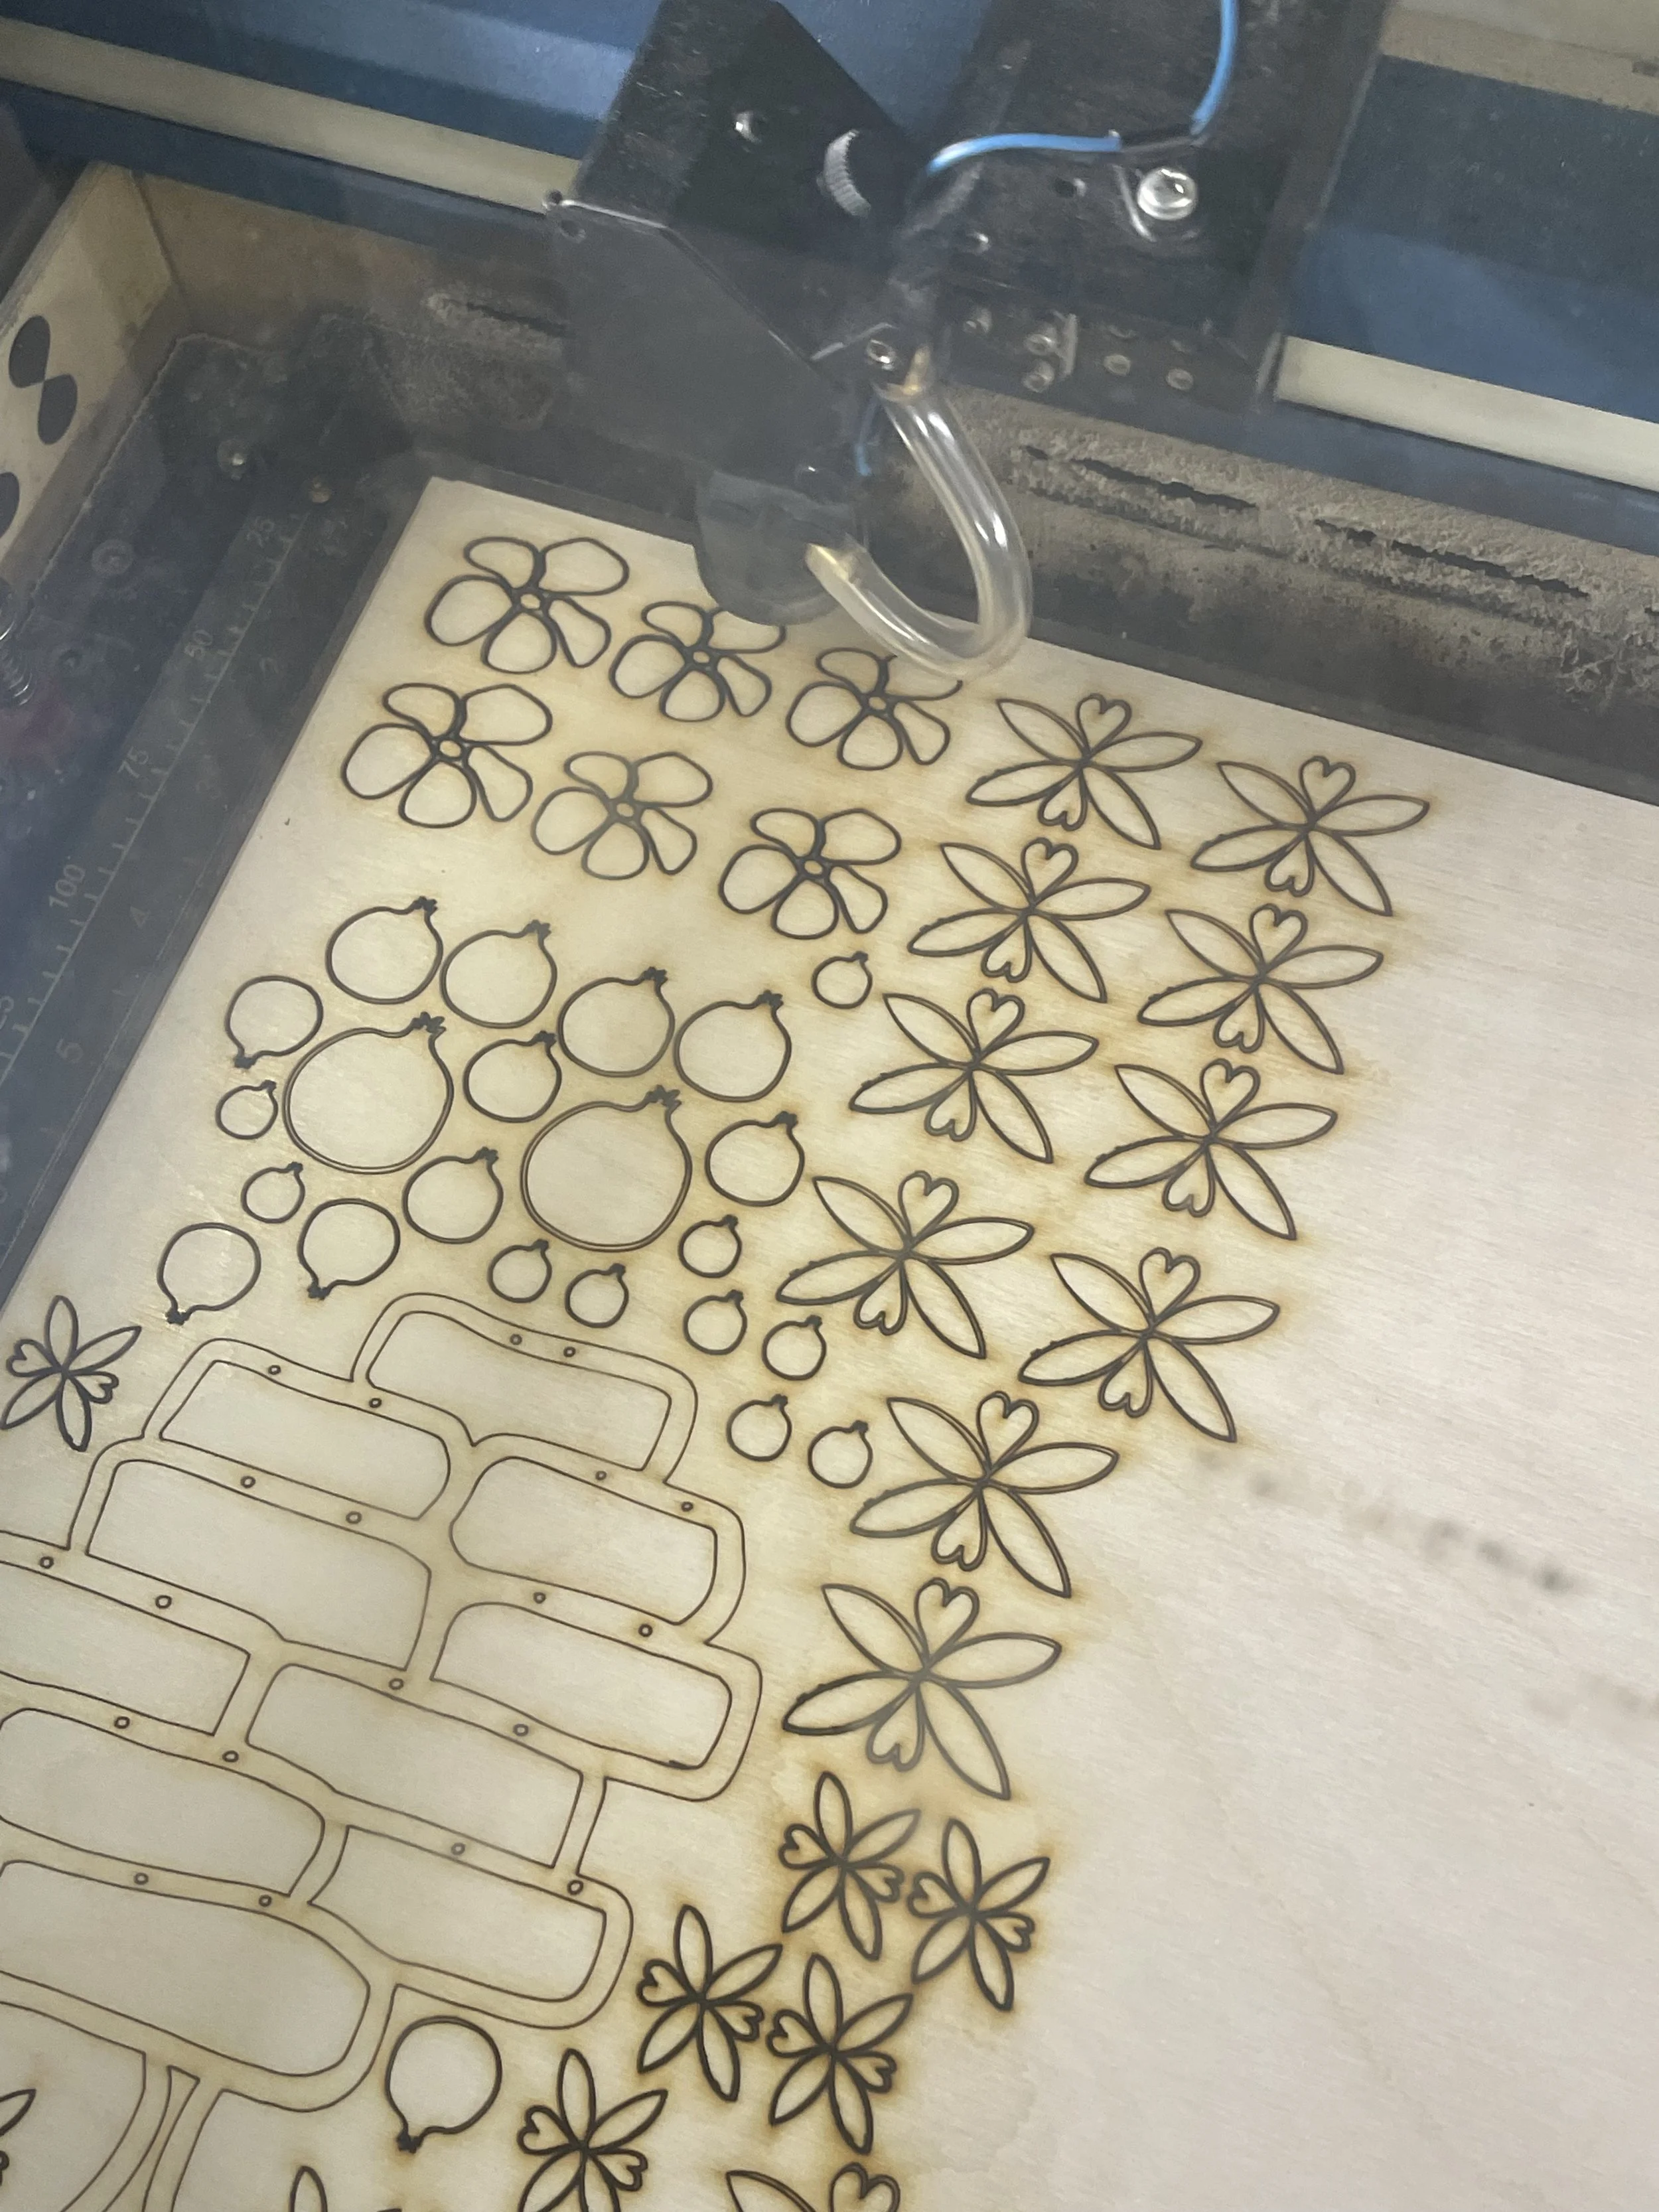
Laser cutting all details for boxes
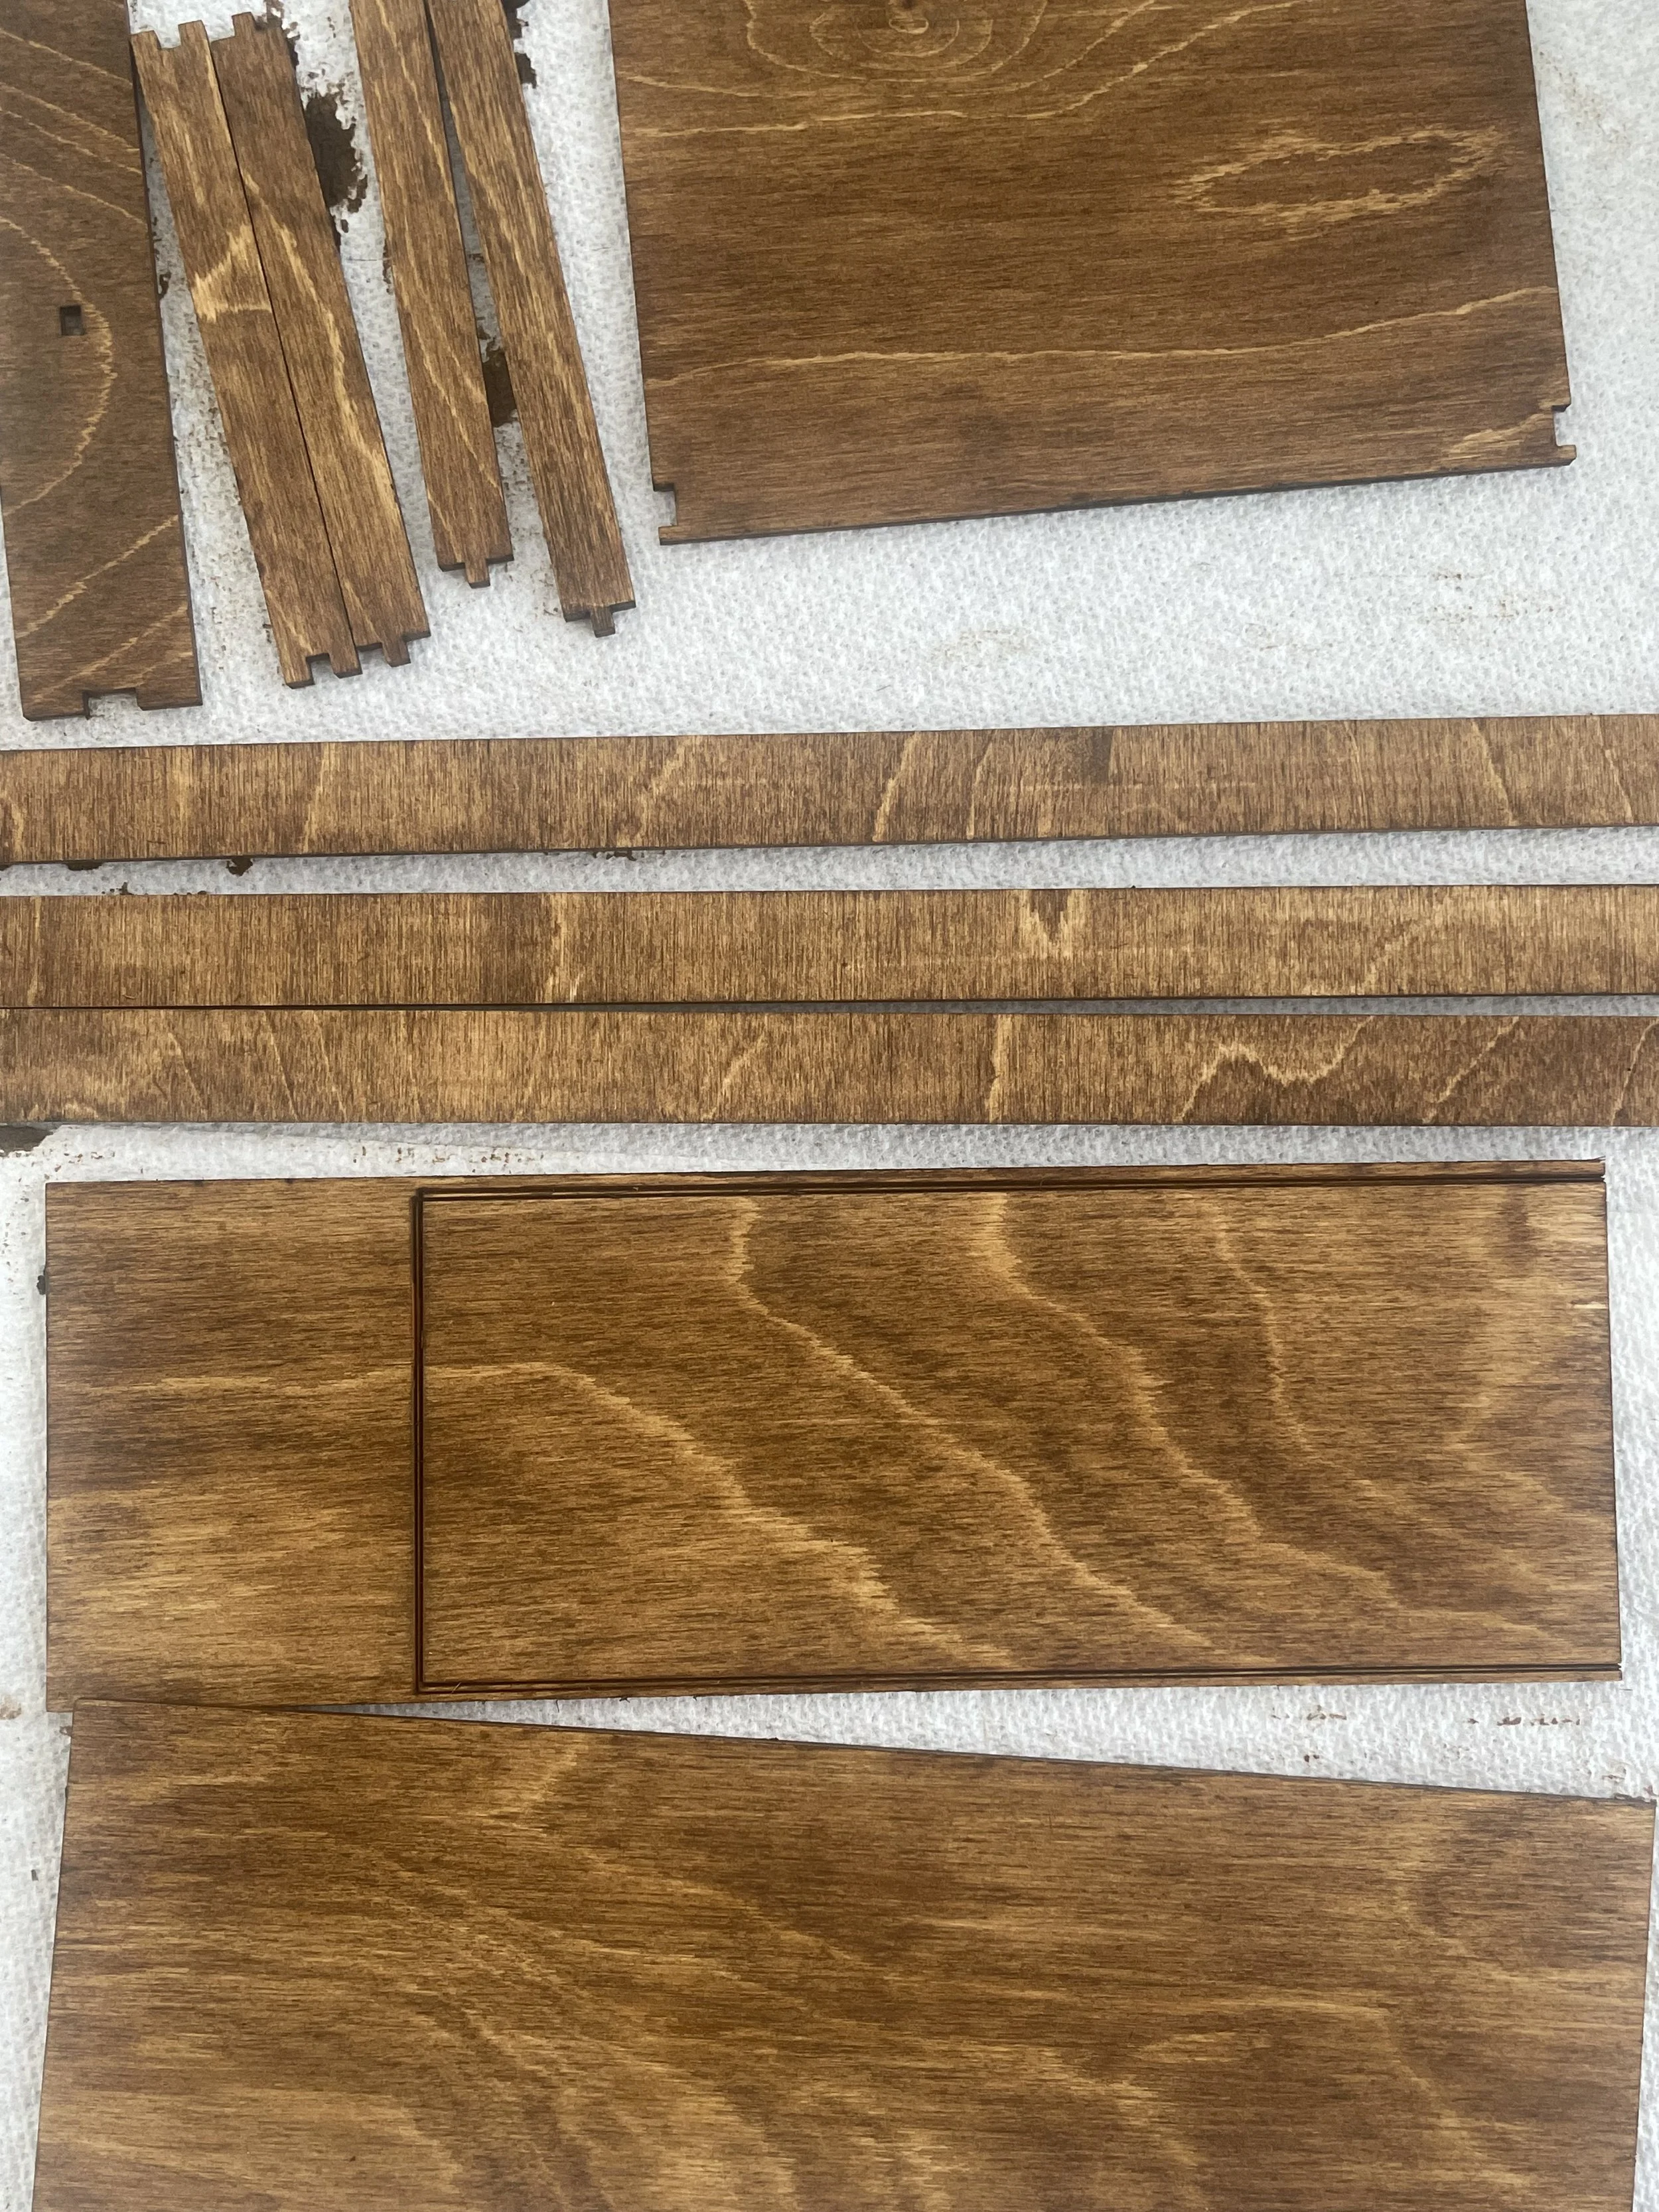
Staining Birchwood for Jewelry Boxes
Shelf and main jewlery box base done
Adding 3D printed and laser cut details
Making the small jewelry box
Paint pen detailing the birchwood
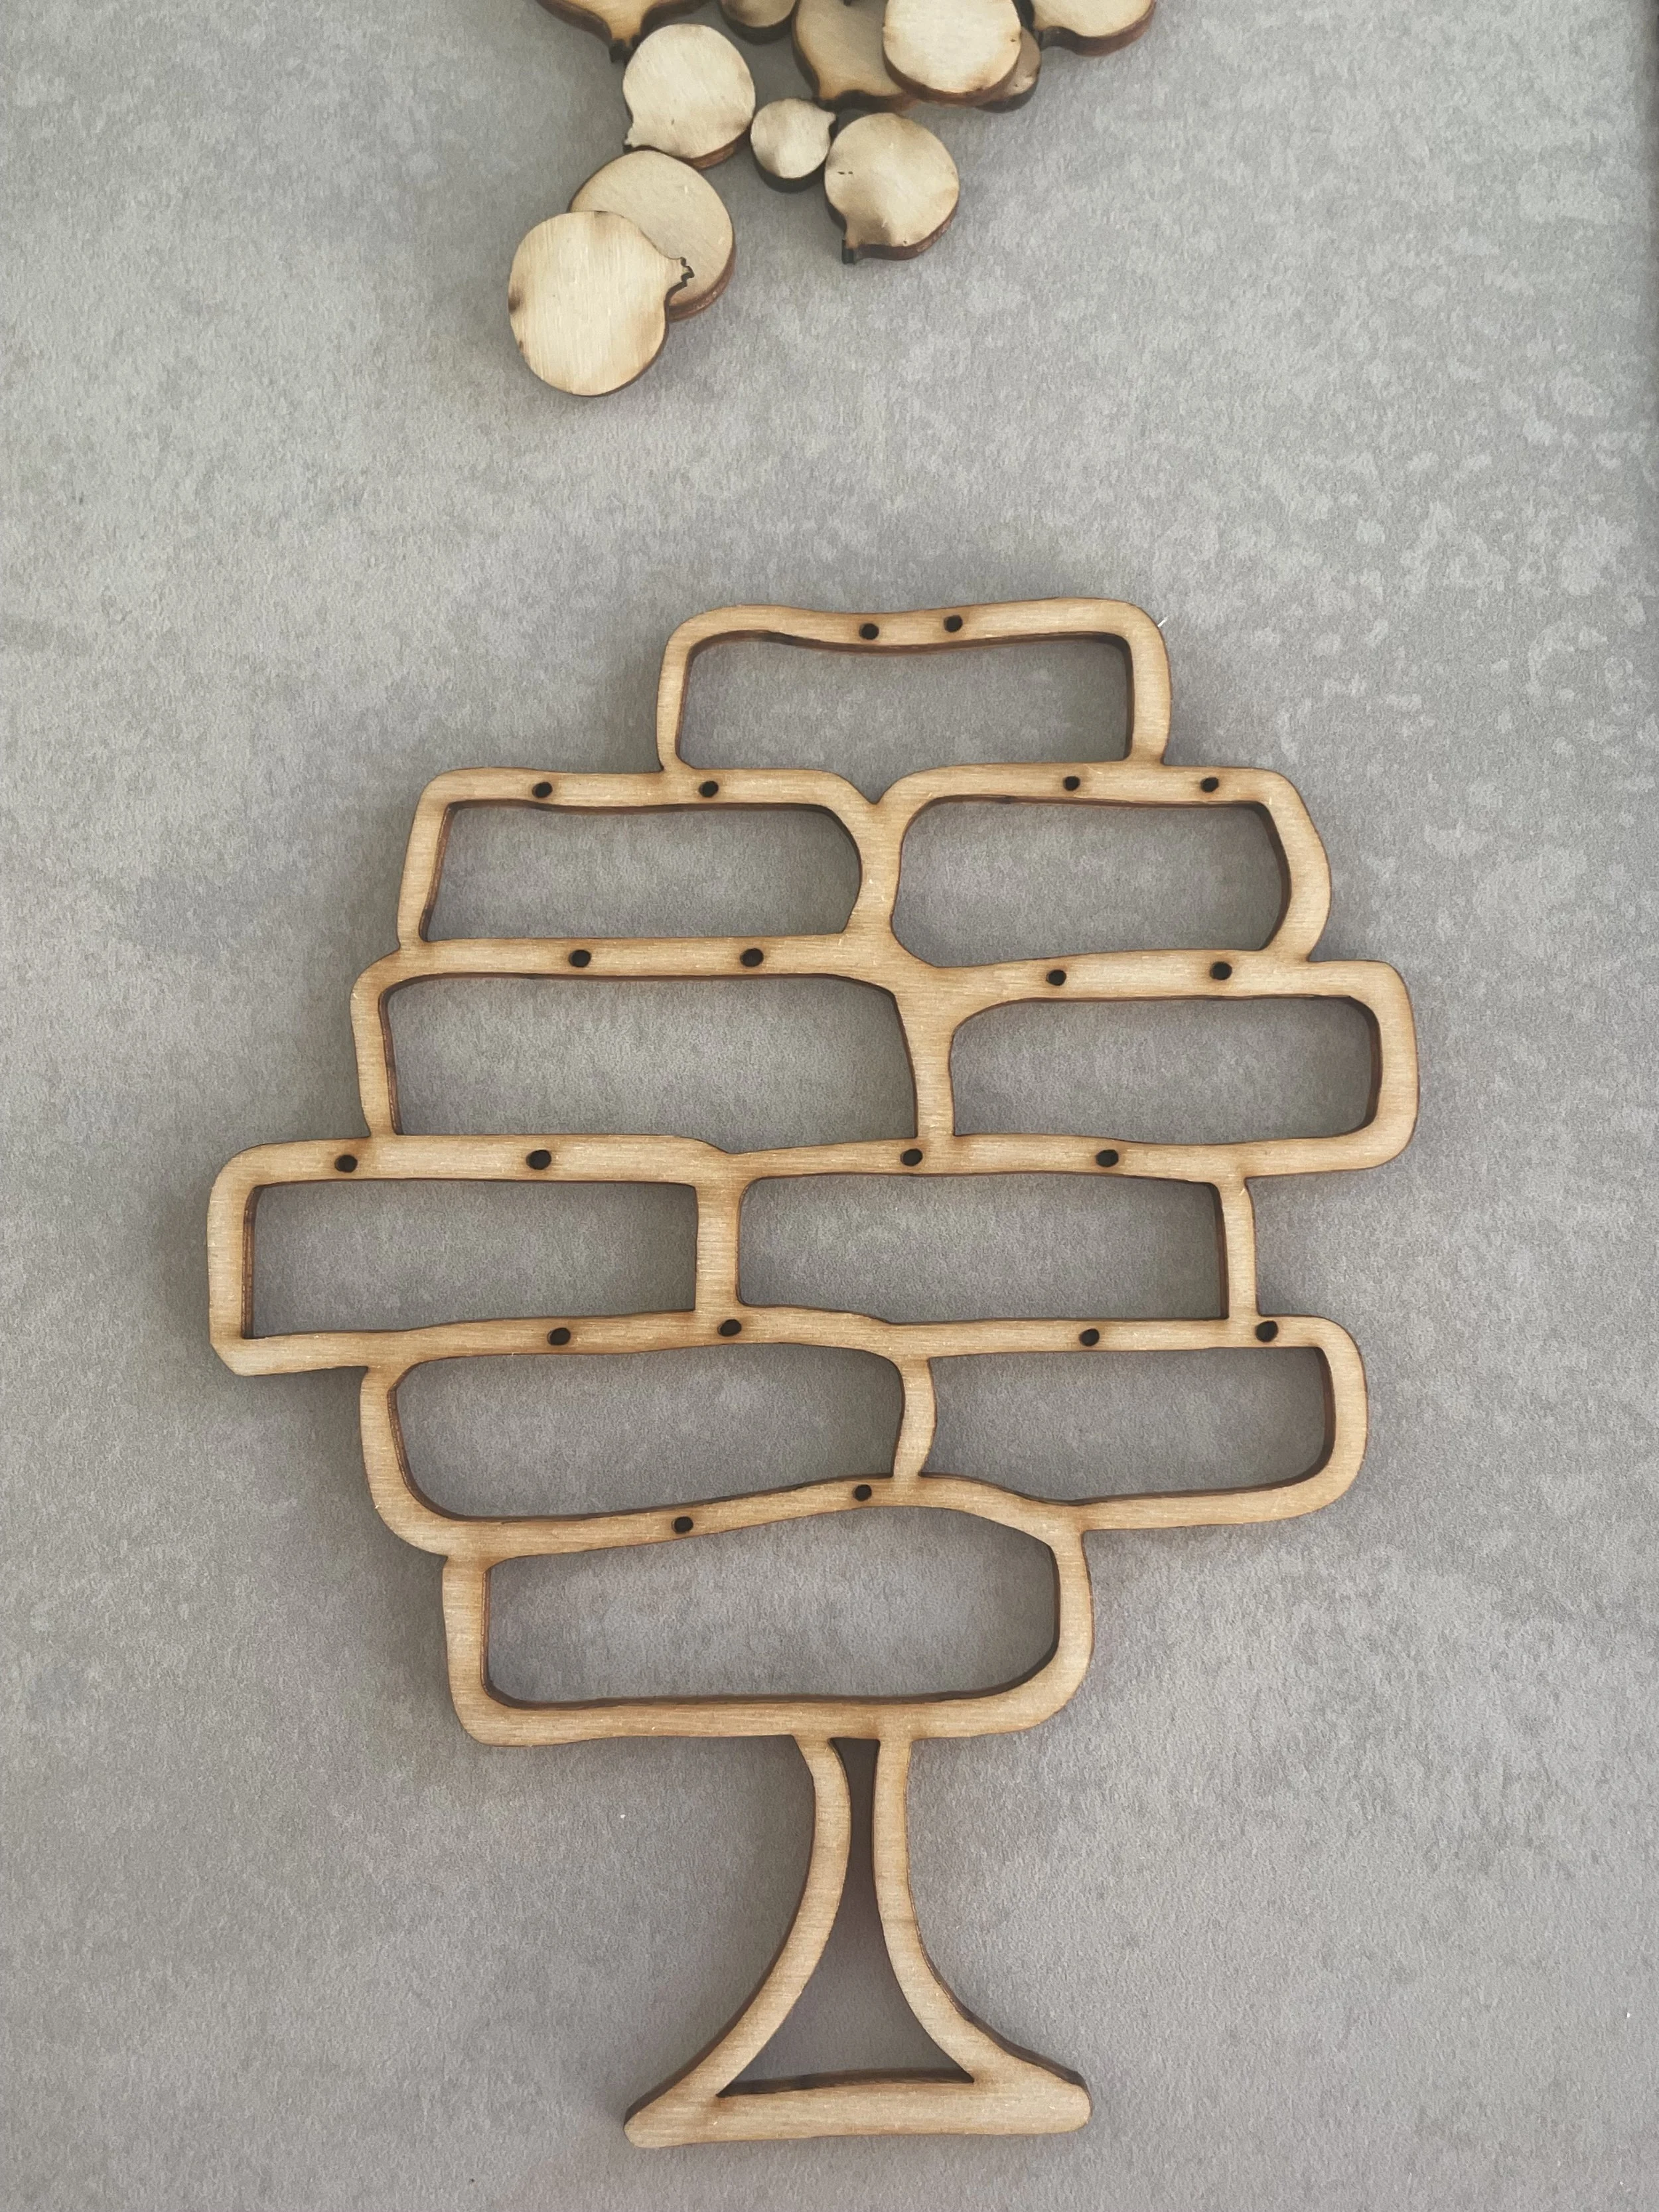
Earring holder laser cut
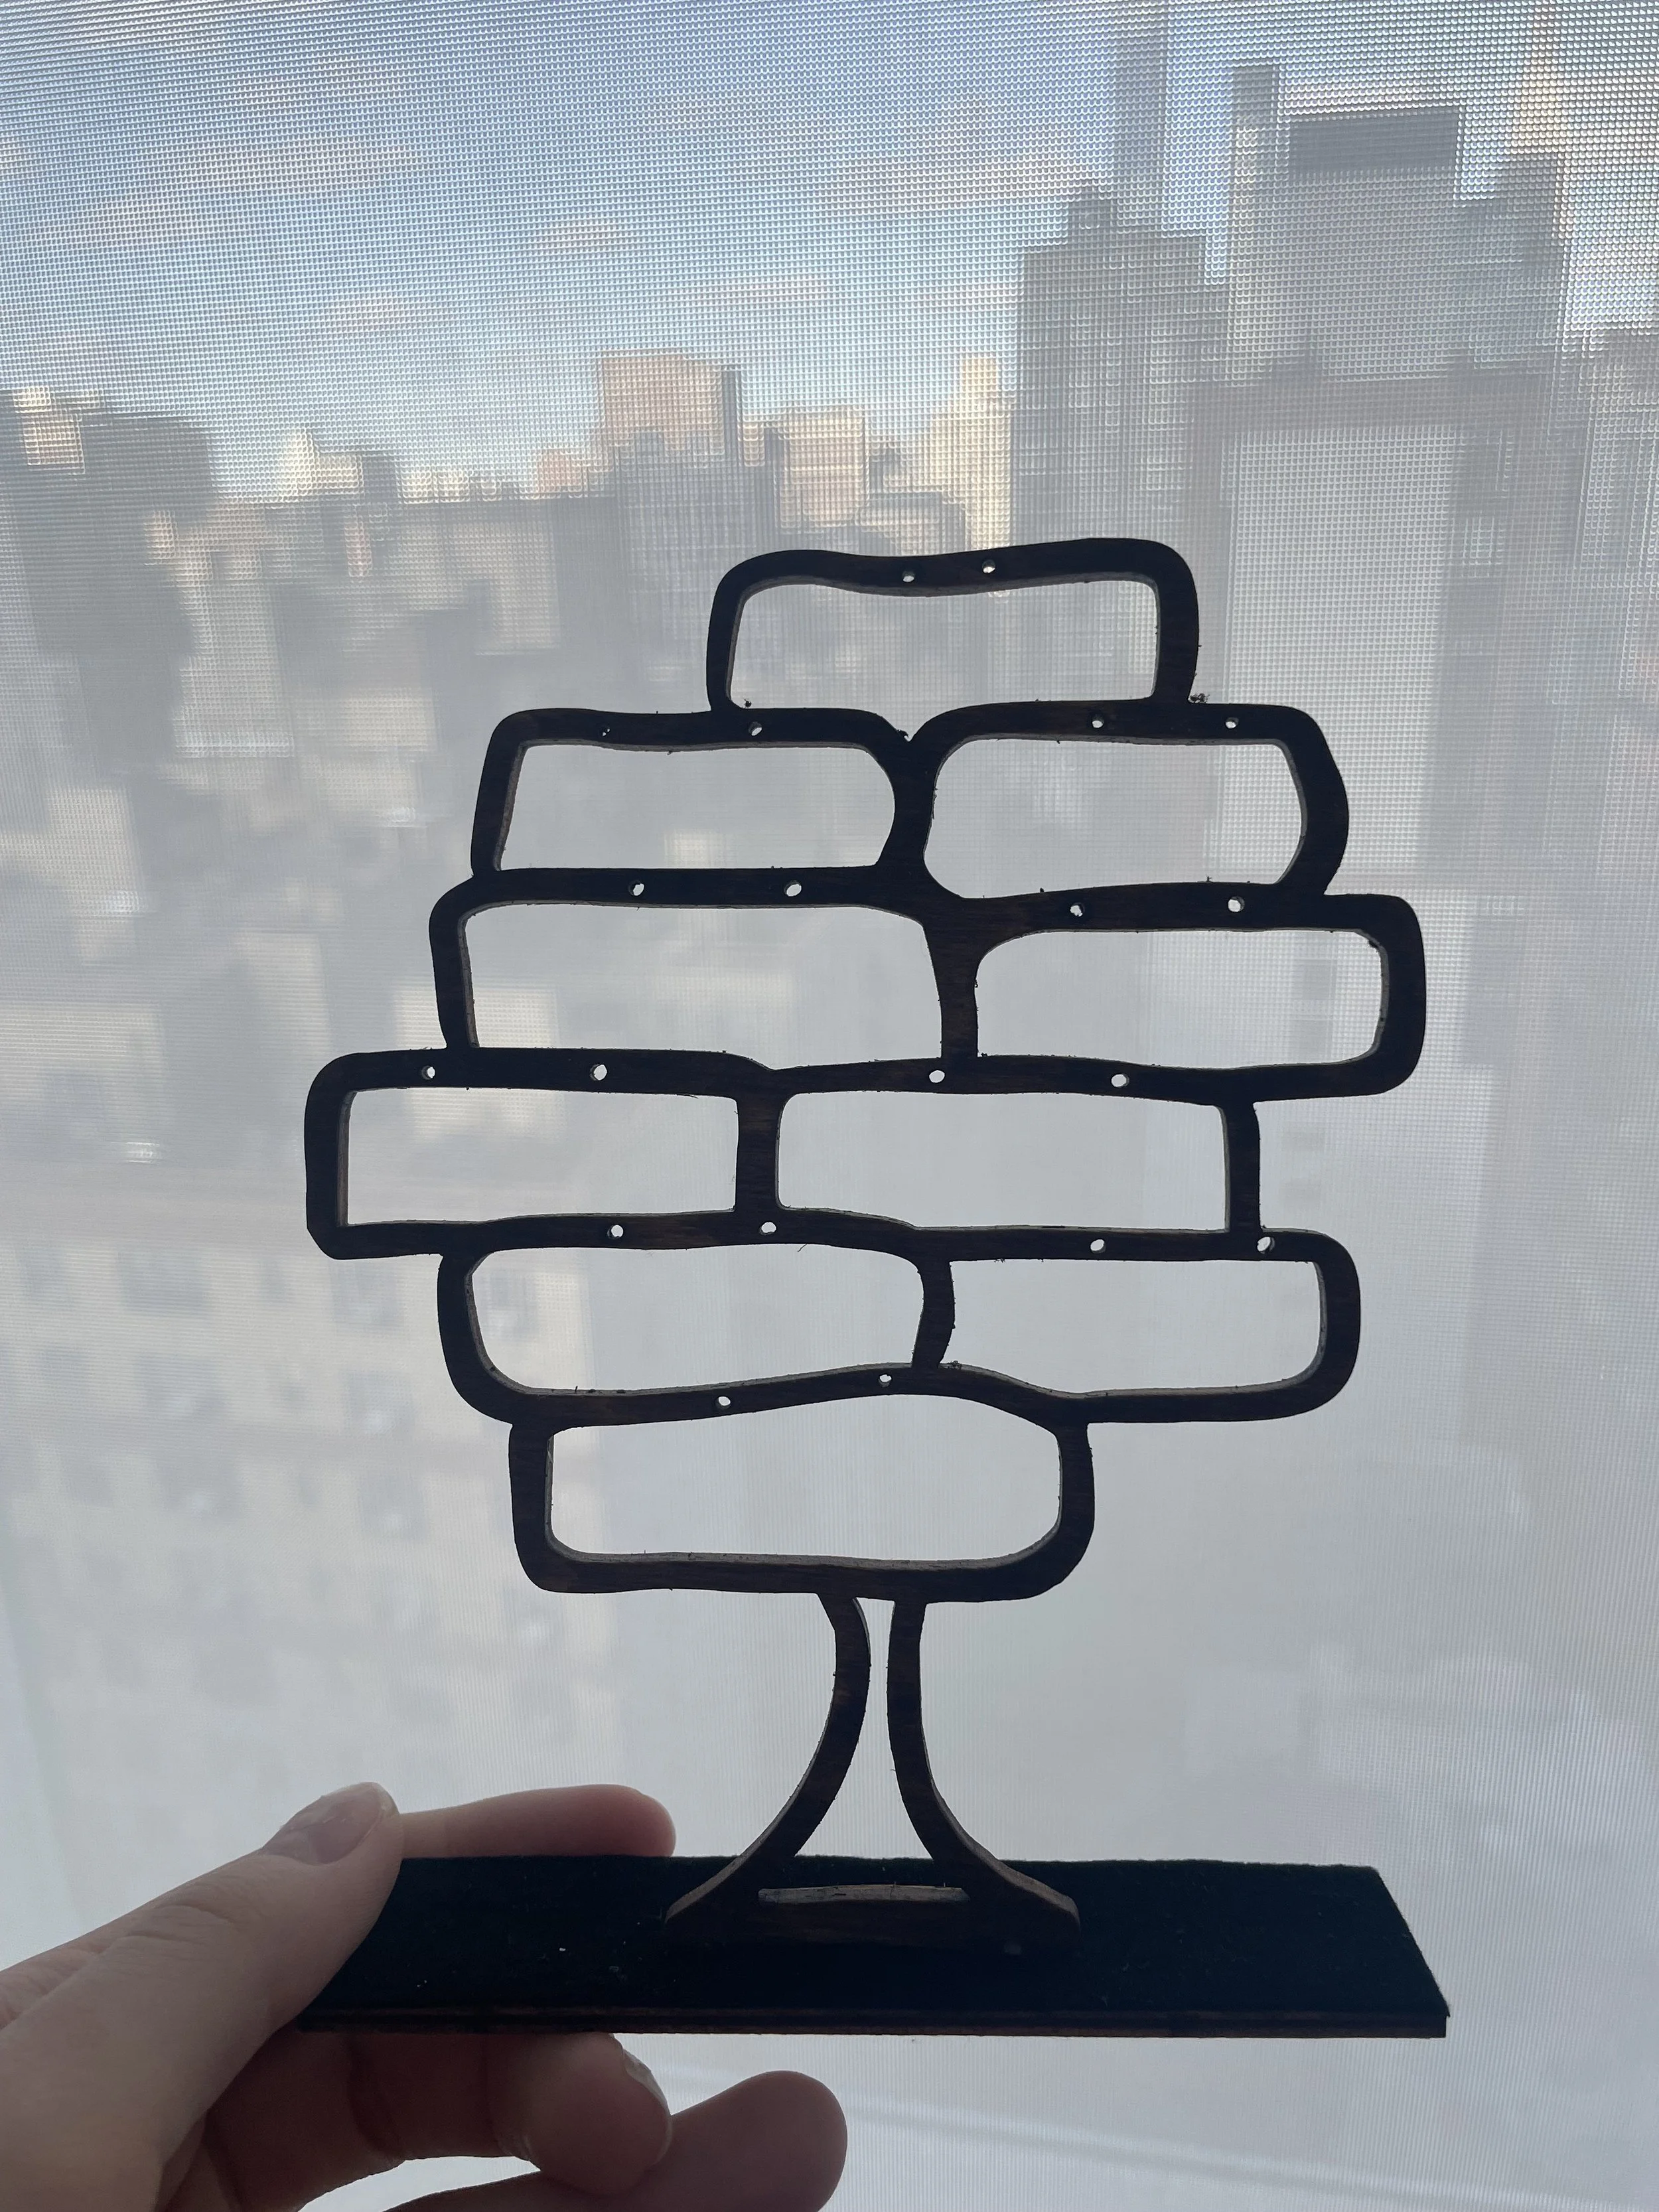
Stained and added a stand for the earring holder
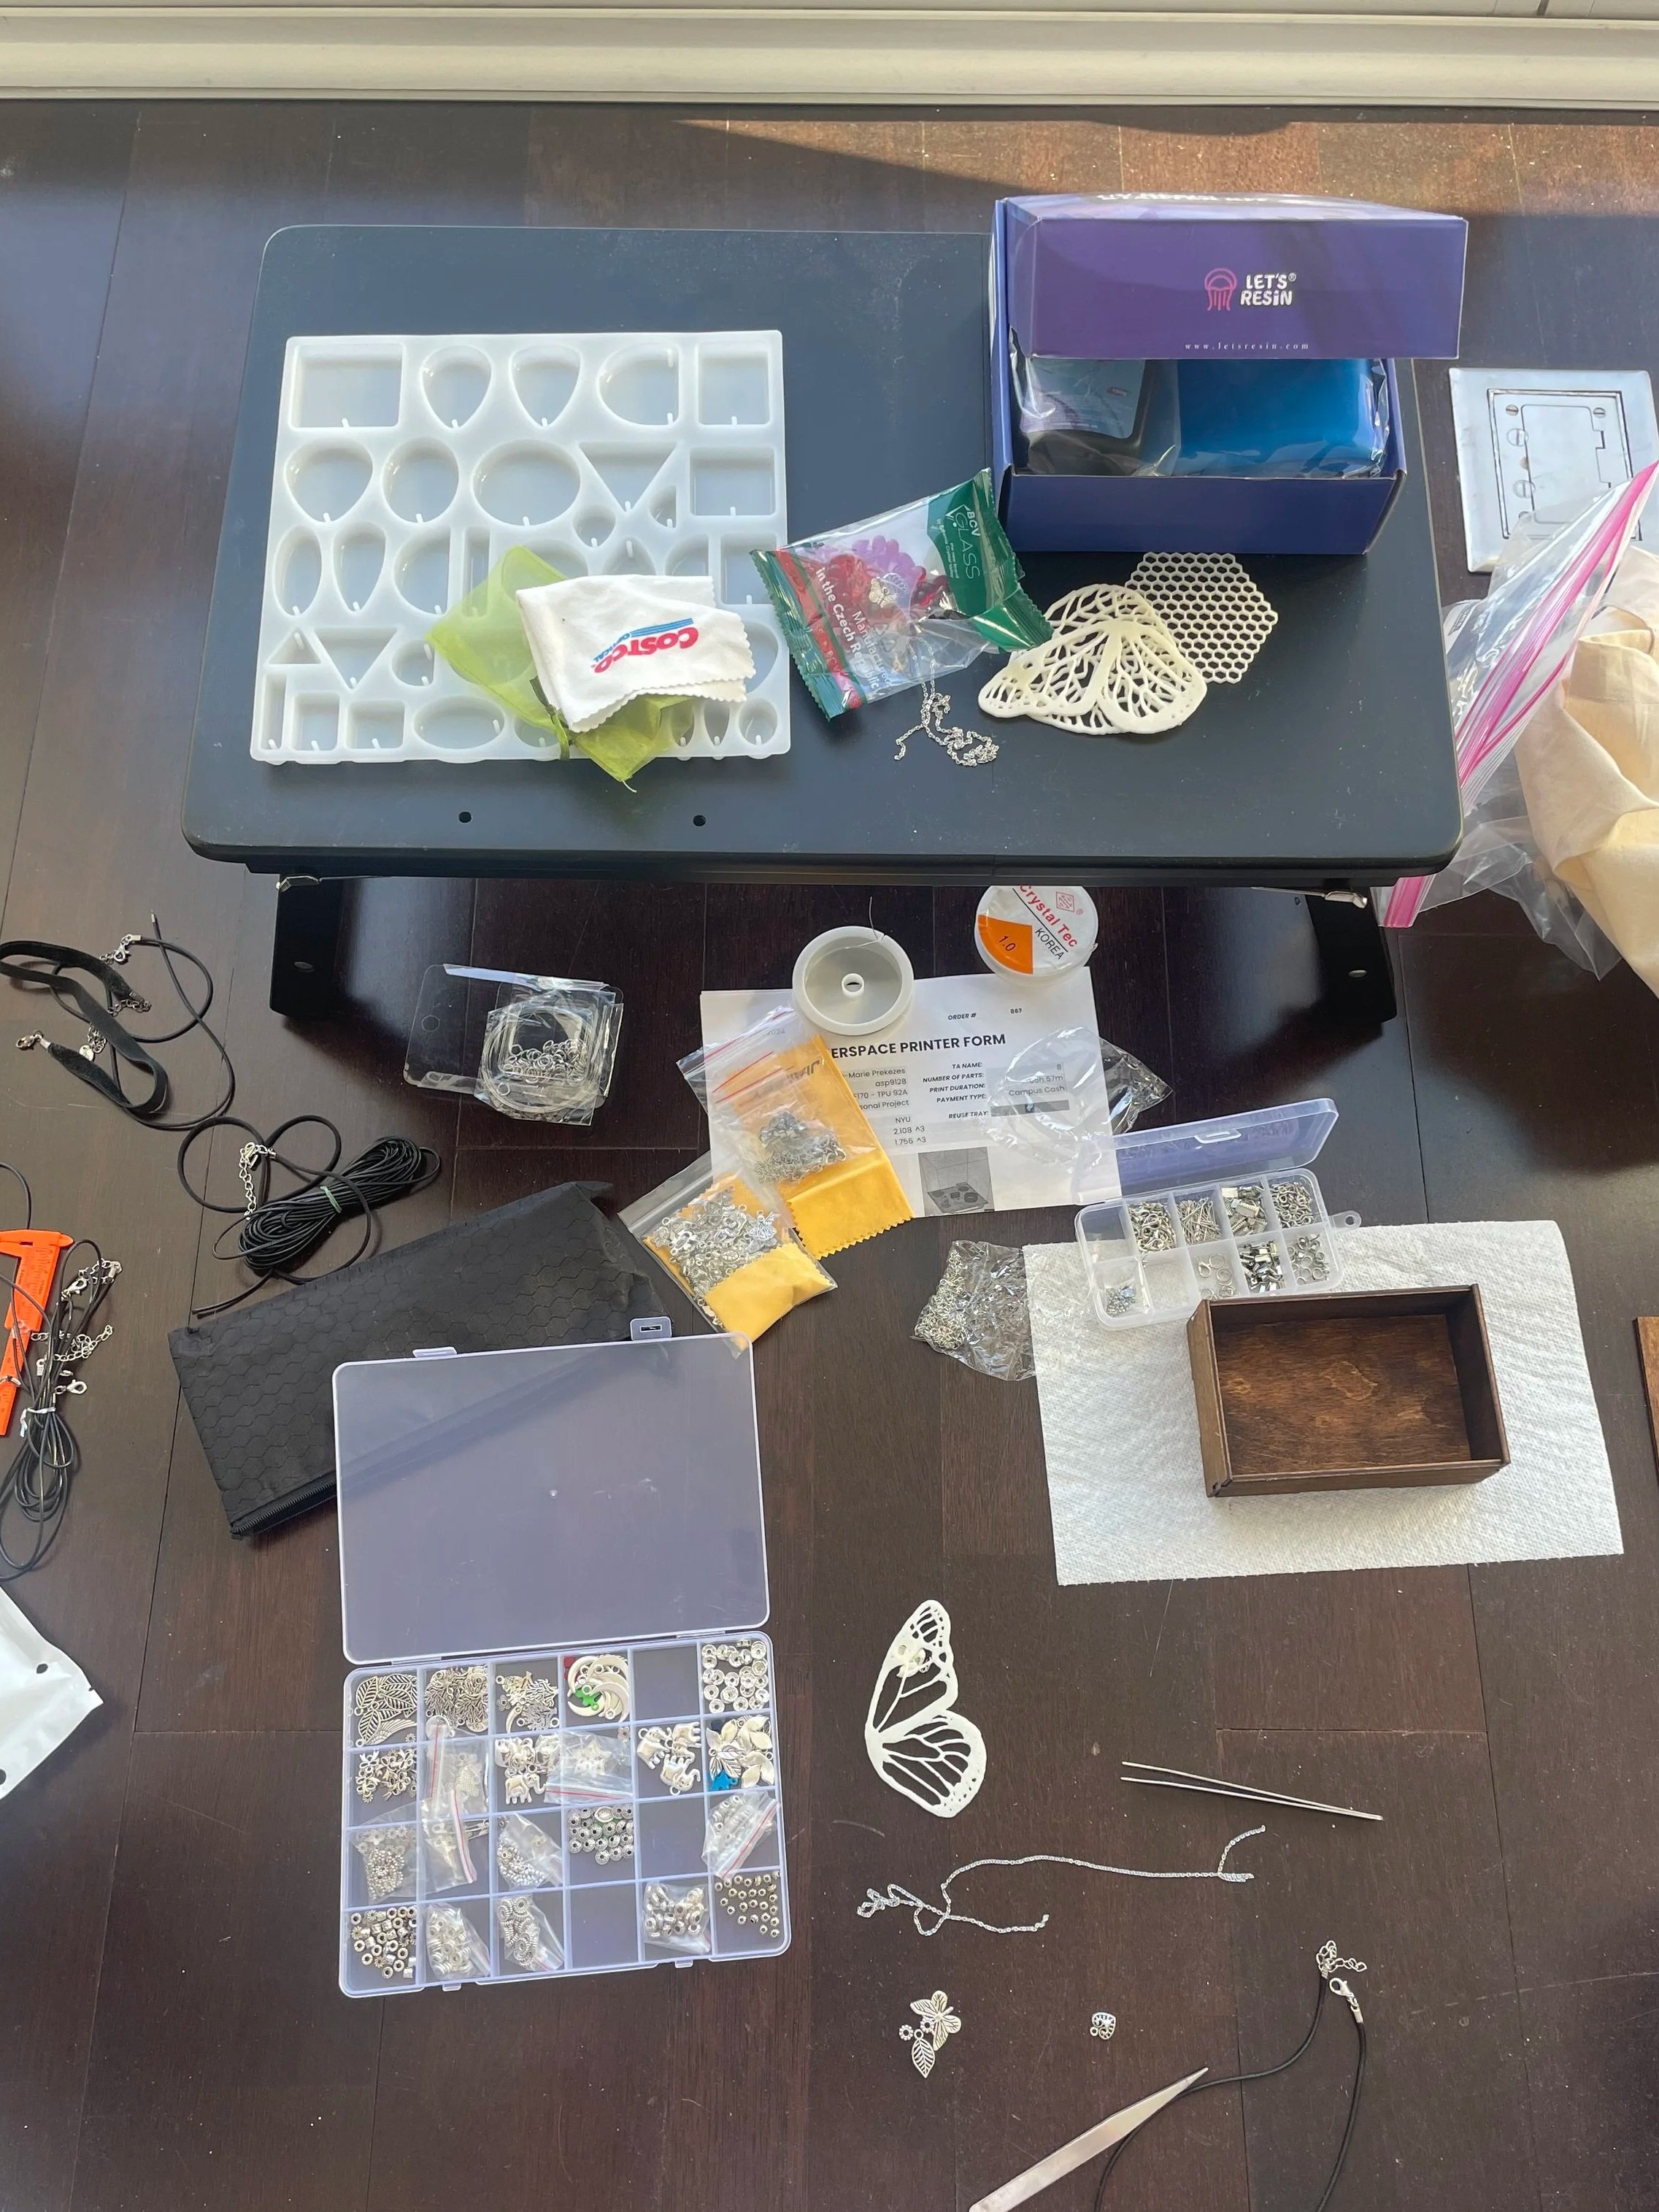
Set up for putting pendants together
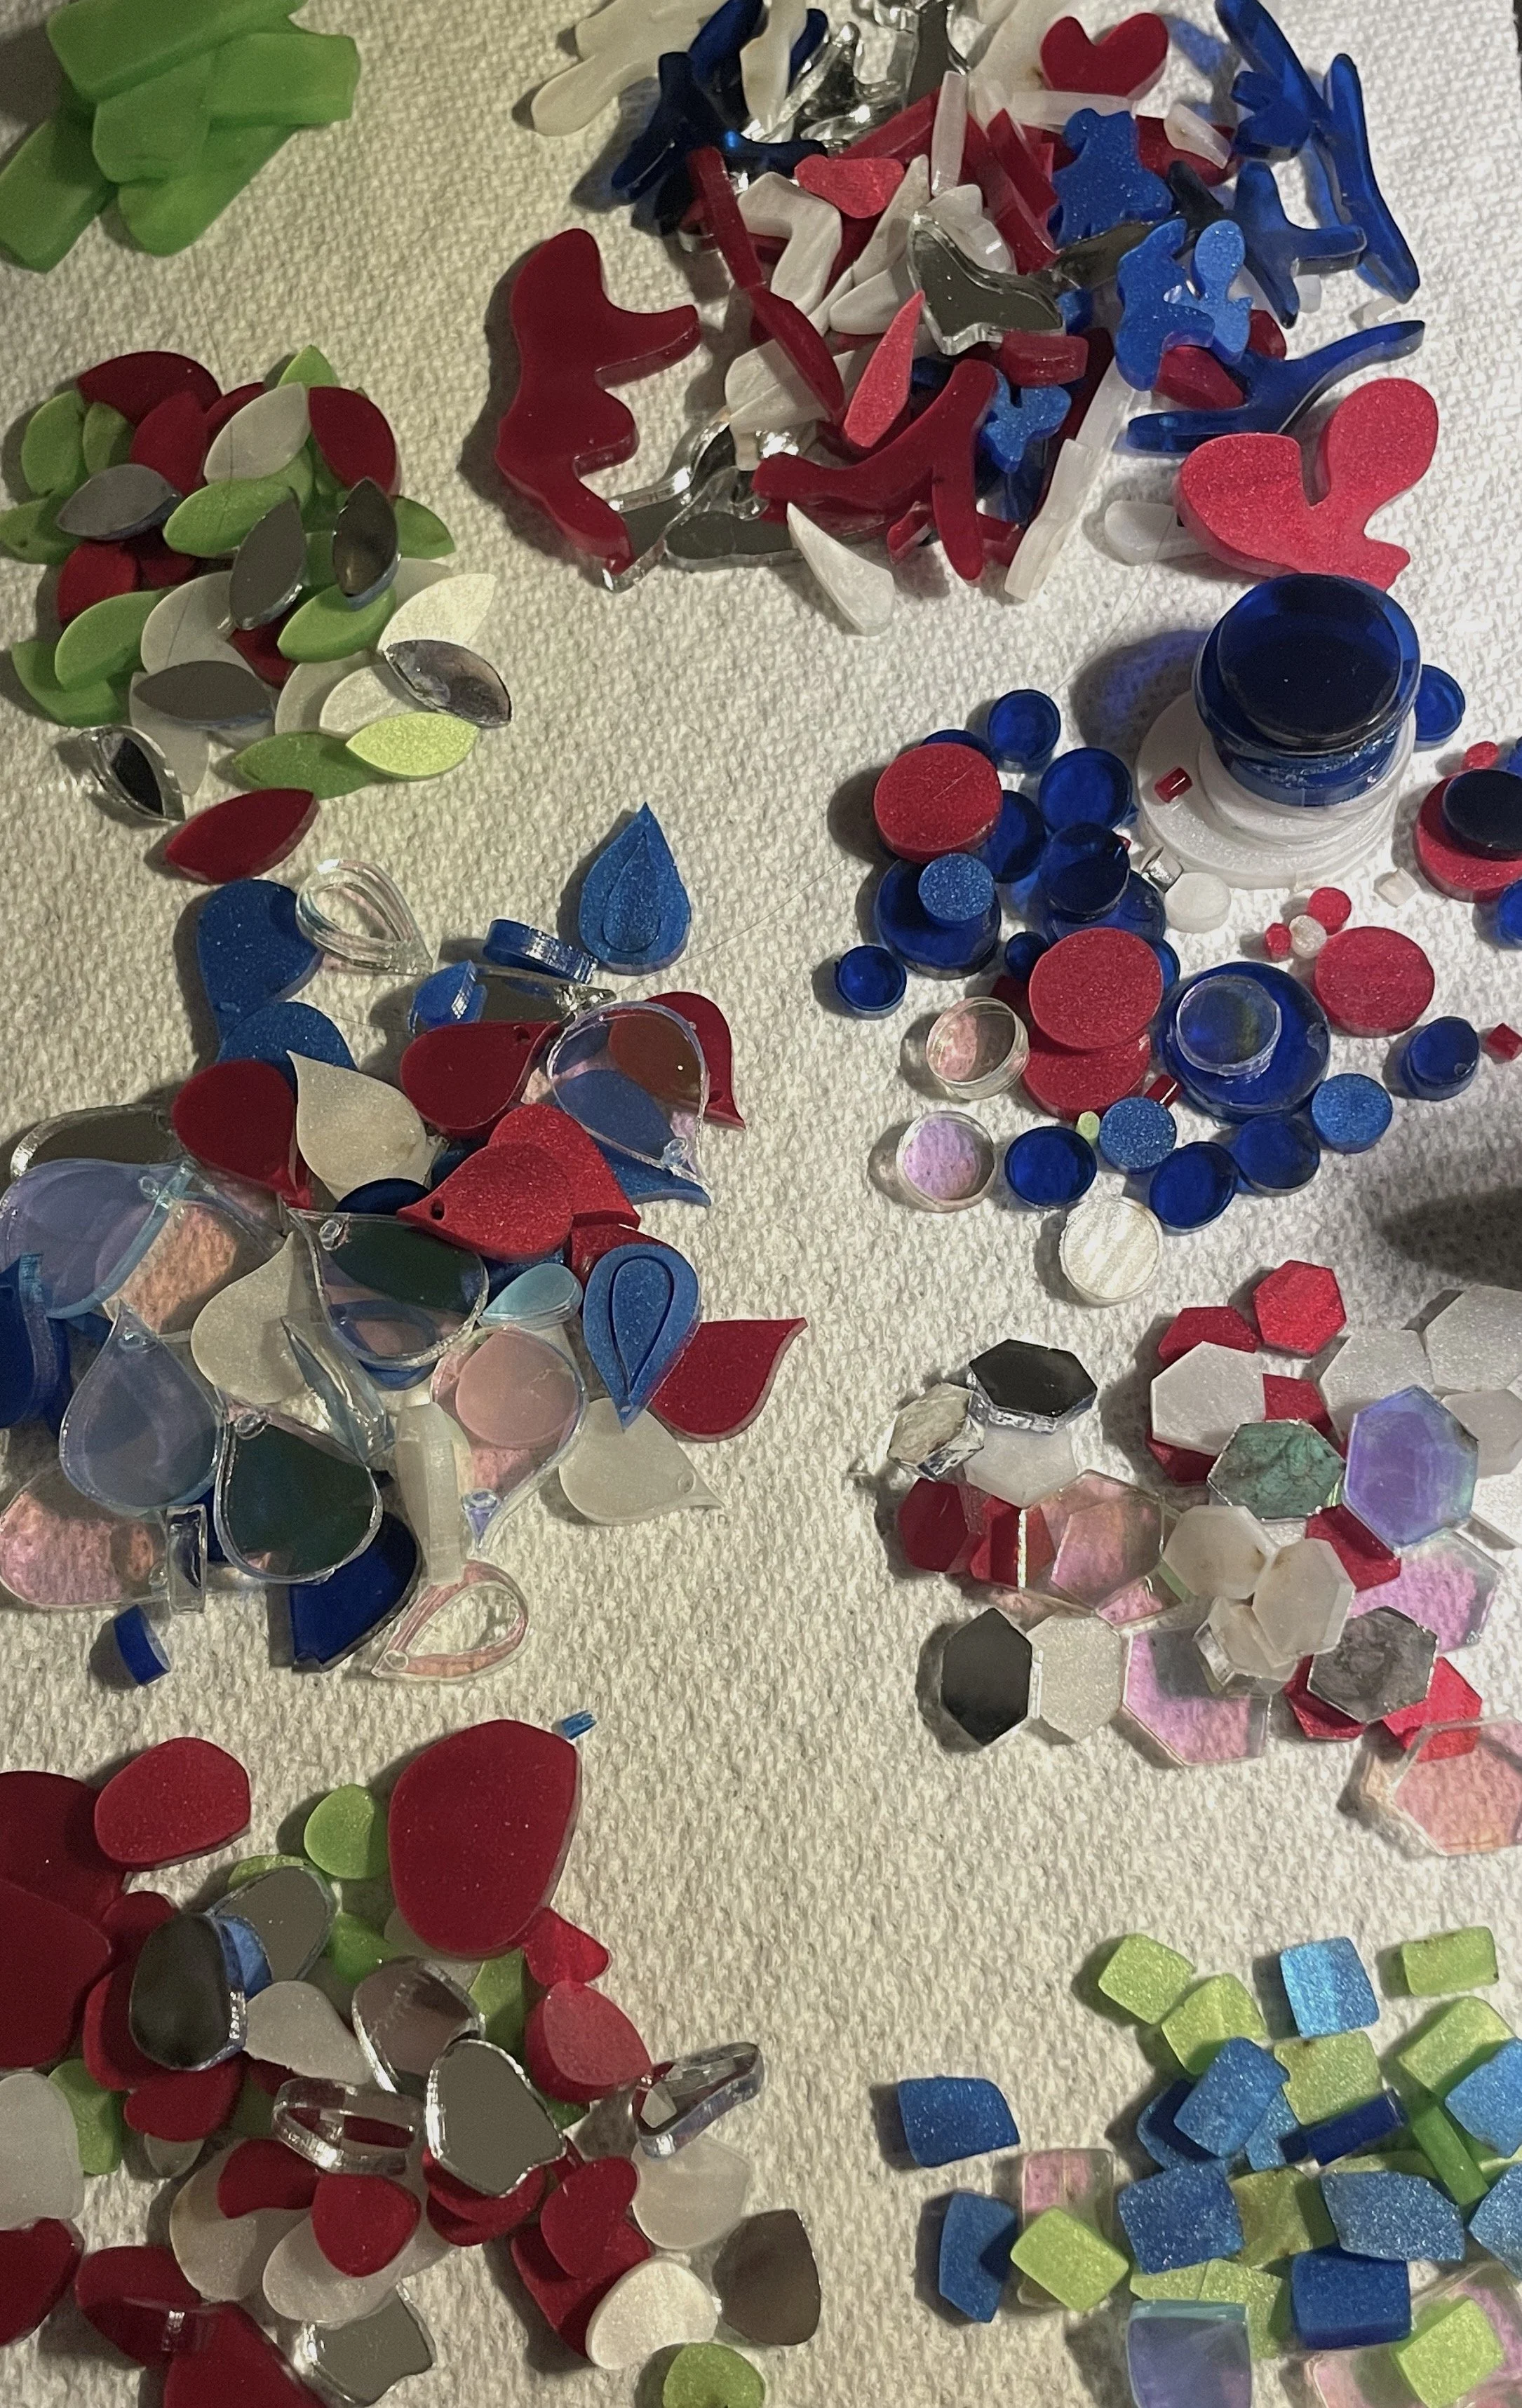
Acrylic pieces laser cut for pendants
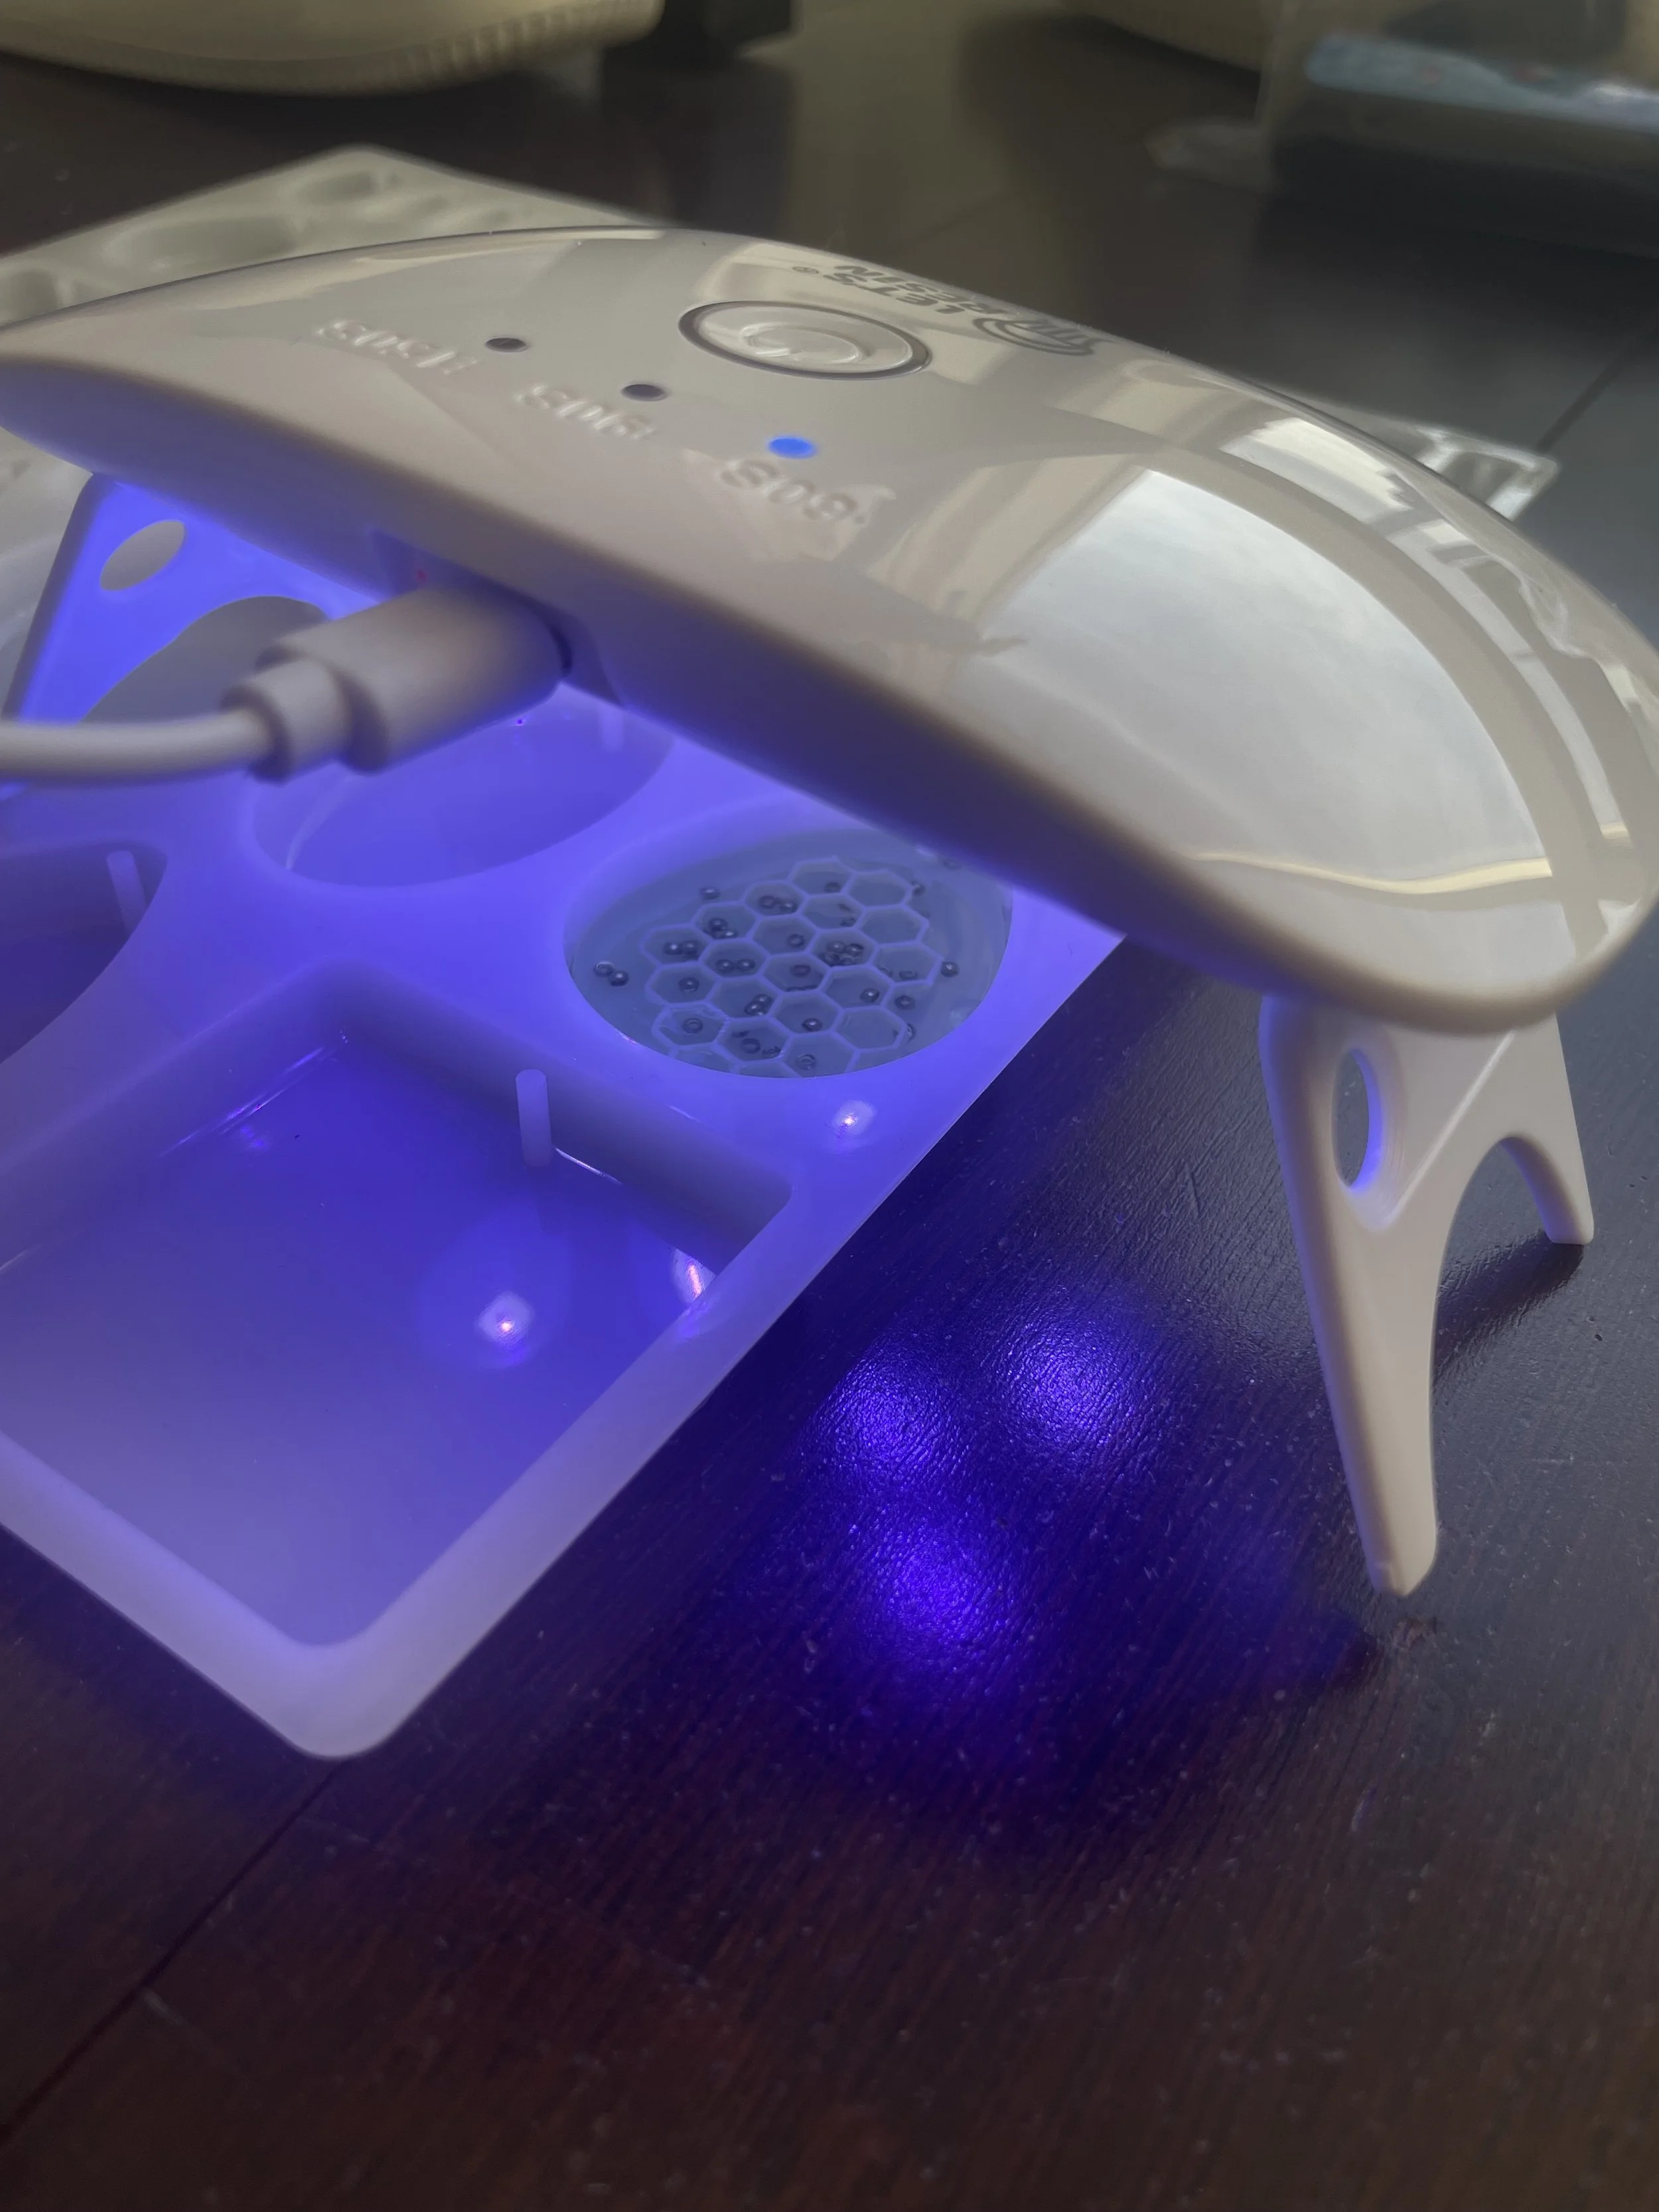
UV light solidifying pendant base
Using molds for pendant bases
First few pieces for pendants drying
Progress image of earring holder and first jewelry box
Progress image of jewelry boxes
Reflection
I am genuinely proud of my final piece and deeply enjoyed the process of experimenting with physical materials (for the first time!). I feel I found a harmony between working with creative technology and abstract, modern design while weaving in natural, found elements. It made me think differently about how we can reuse and reimagine objects in design.
Working with light, transparency, and reflective surfaces was new to me, and it inspired so many ideas that shaped my work. I also learned to let go of controlling every outcome by allowing the materials to lead. There’s something exciting about how UV resin captures whatever you embed; it becomes its own little ecosystem.
This project has been an exploration of balance, both between digital and physical, as well as organic and modern, and I’m excited to continue growing, creating, and finding new ways to let these worlds overlap.
Final Prototype Images taken at Showcase
Images taken by Canon T60 and touched up using the Adobe Creative Suite.
Final Prototype Images taken at Studio
Images taken by Canon T60 and touched up using the Adobe Creative Suite.